
DIY Tips: How to Install a New Door Like a Pro


Gathering Your Tools and Materials
Before you can start installing a new door, it’s essential to gather all the necessary tools and materials. This preparation will ensure a smooth installation process. You will need a measuring tape, a screwdriver, a hammer, a chisel, a level, shims, and screws. In addition, don't forget the door itself and the door frame kit if needed.
Having everything within reach saves time and reduces the chances of something going wrong. Ensure that all your tools are in good working order to avoid any interruptions during the installation process.
Removing the Old Door
Start by removing the old door carefully. Begin by unscrewing the hinges from the door frame. It’s a good idea to have someone help support the door as you detach it to prevent any accidents or damage. Once the door is free from the hinges, place it aside safely.
If you're also replacing the door frame, use a pry bar to remove any trim around the door. Take care not to damage the surrounding walls if you plan on reusing any of the materials.
Preparing the Door Frame
With the old door removed, it's time to prepare the door frame for installation. Check the frame for any damage or warping and use a level to ensure everything is straight and aligned. If necessary, make adjustments using shims to create a perfect fit for your new door.
If you are using a pre-hung door, this step may be simpler, as the frame is already attached to the door. However, it is still crucial to check for any misalignment before proceeding.
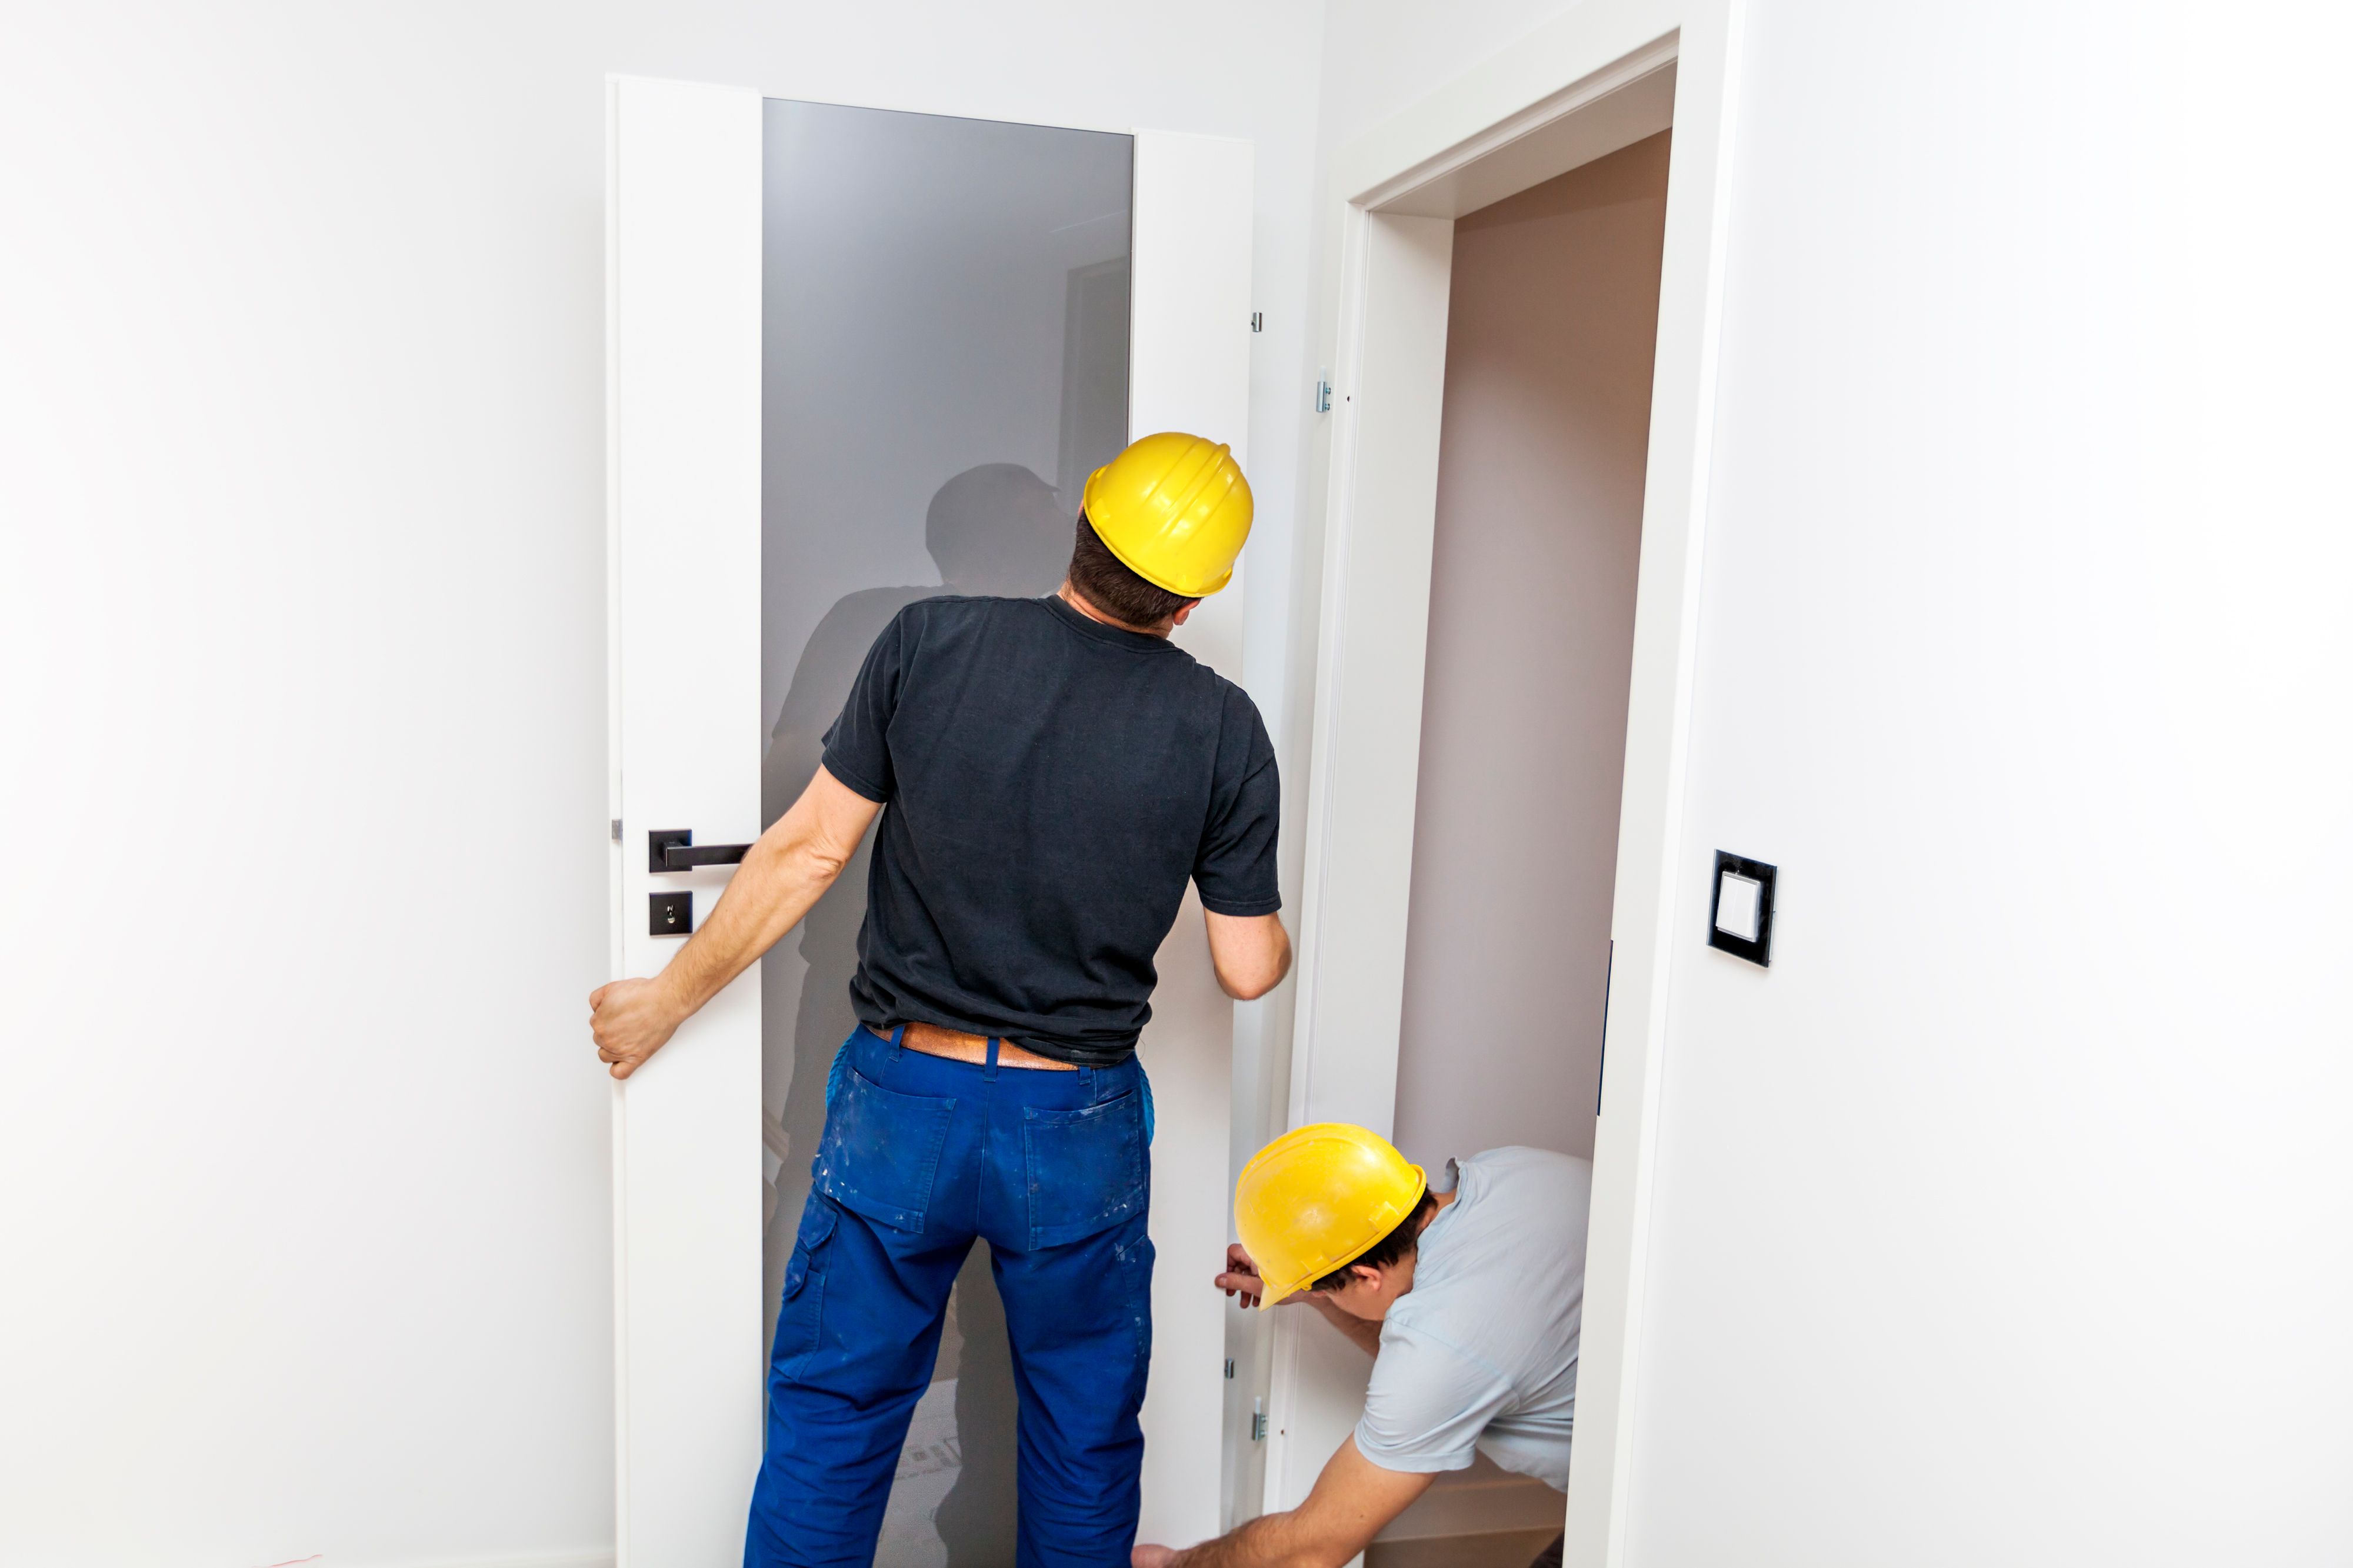
Installing the New Door
Place the new door into the frame and make sure it fits snugly. Adjust it by sliding shims into any gaps to ensure it sits perfectly within the frame. It's vital to maintain an even gap around the perimeter of the door for smooth operation.
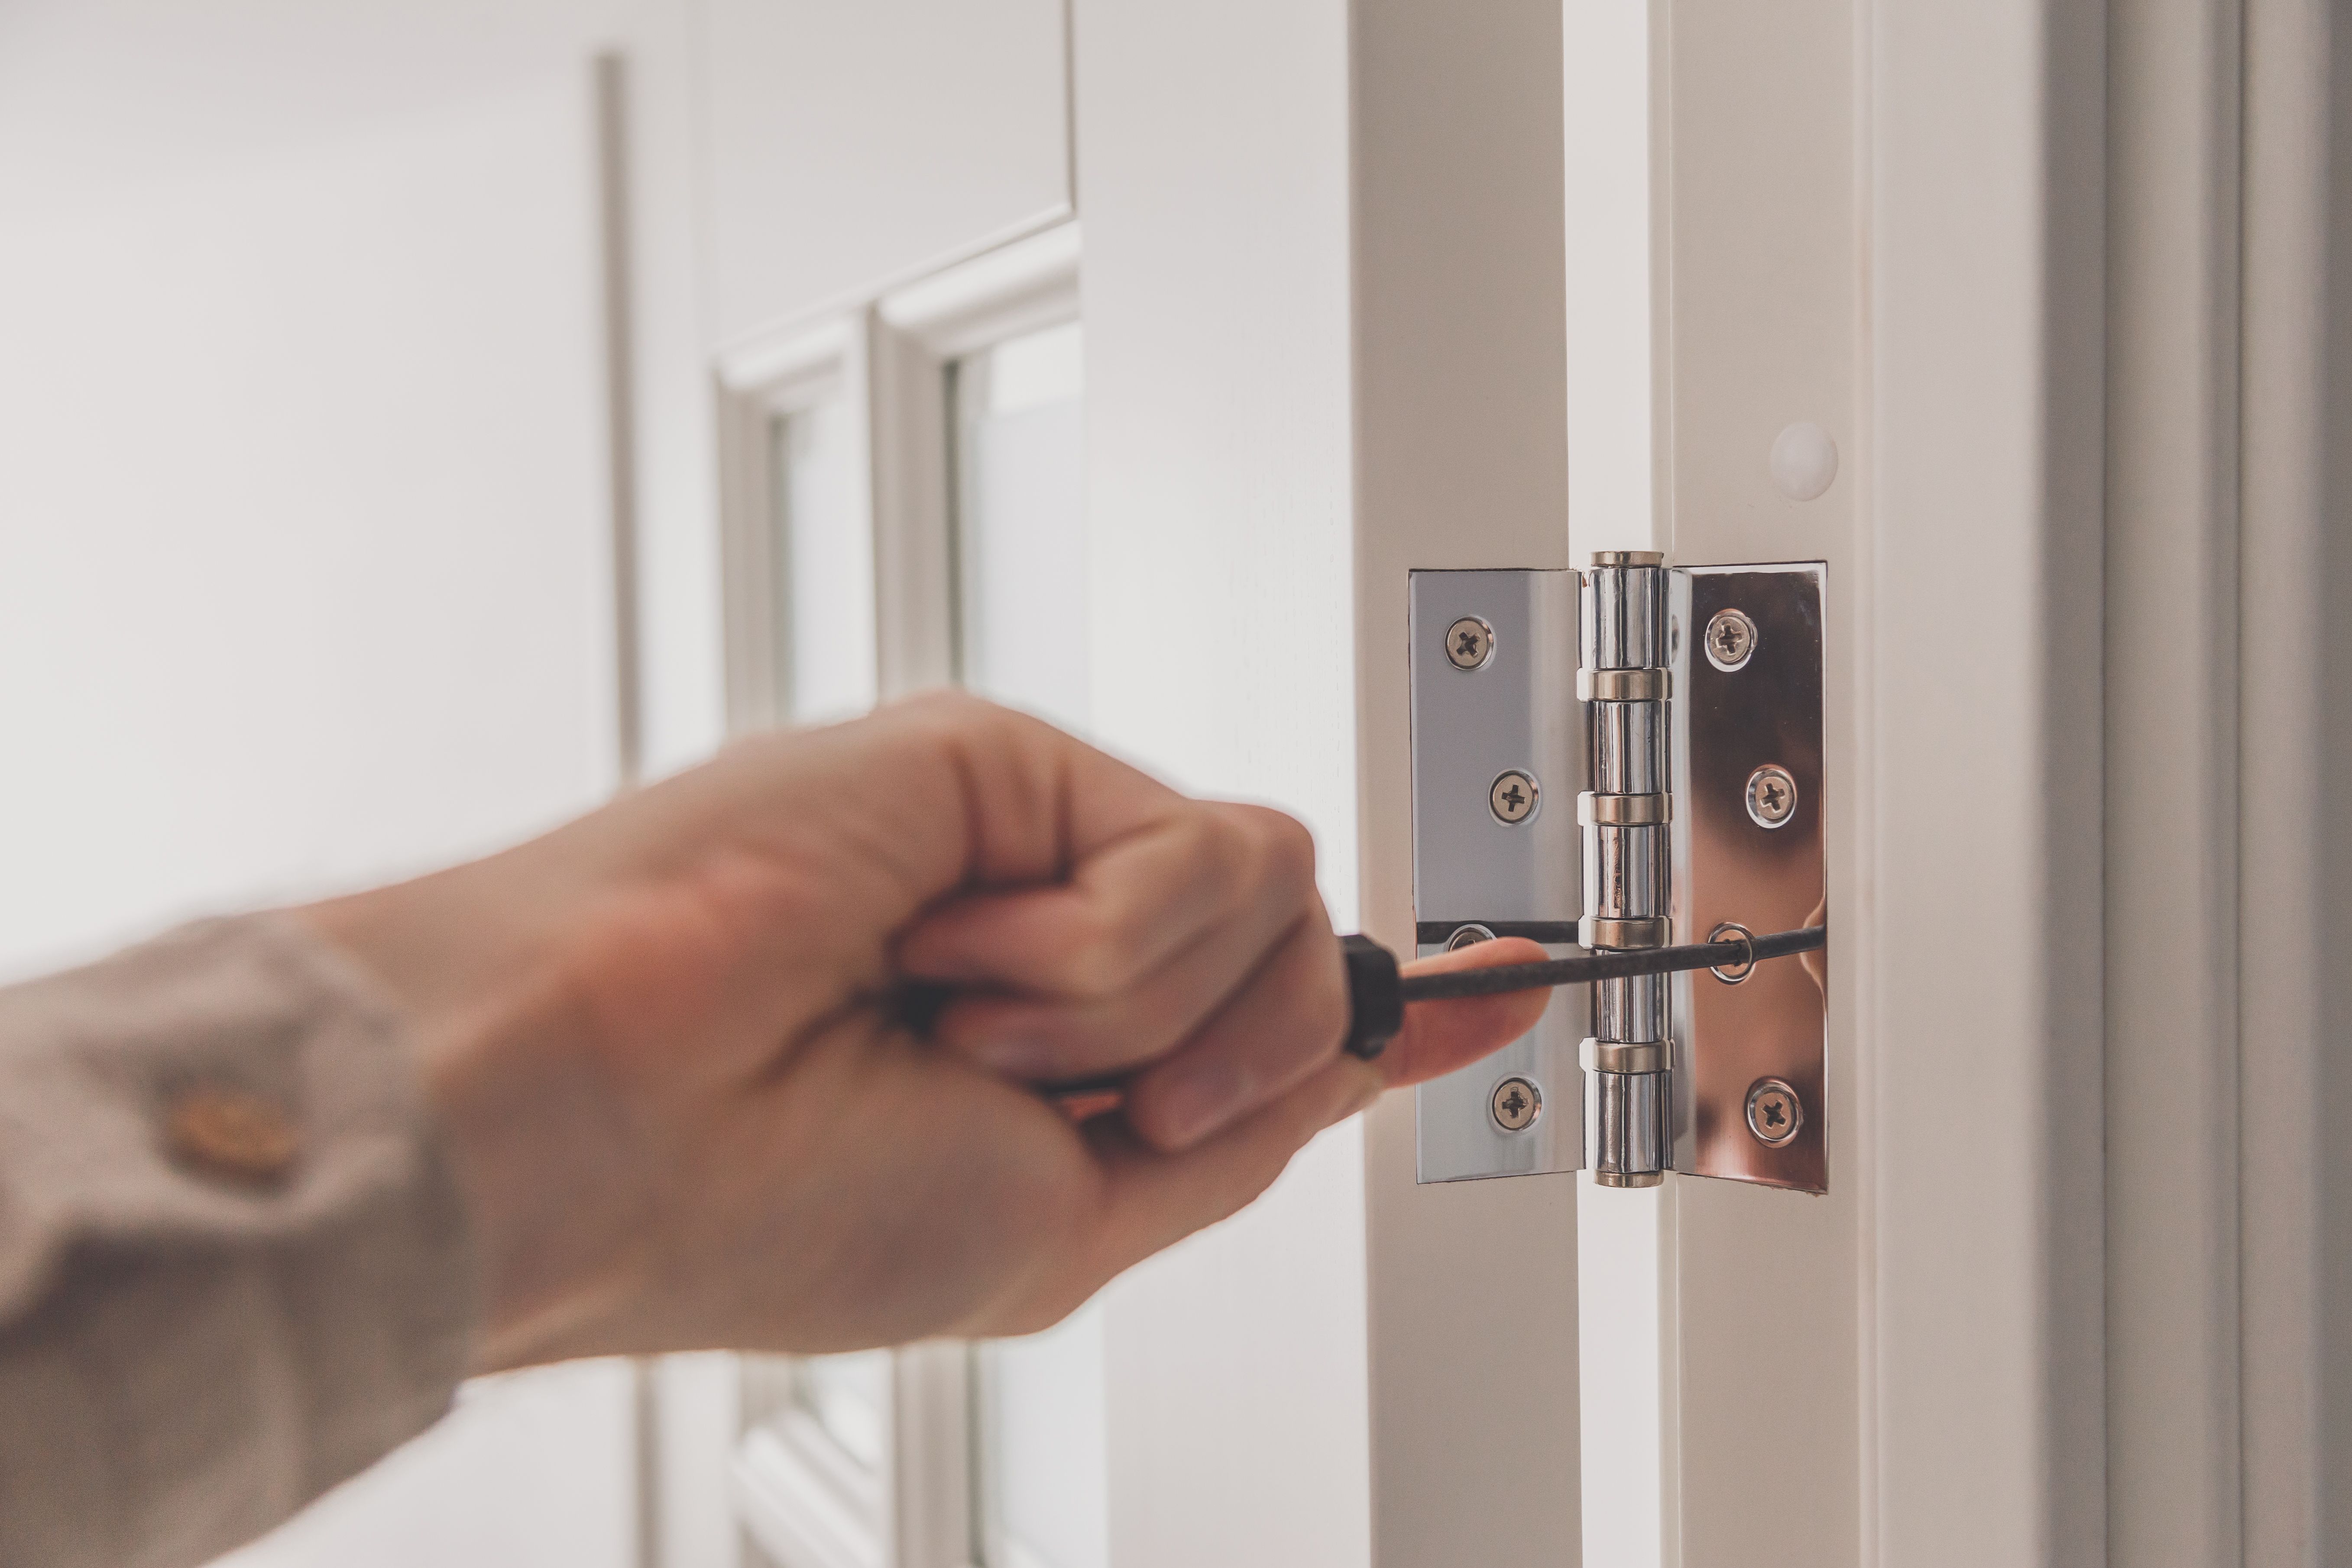
Once you're satisfied with the fit, begin by securing the hinges to the door frame. Start with the top hinge and work your way down, checking that each hinge is aligned correctly. Tighten all screws securely but avoid overtightening as this could strip them.
Final Adjustments and Finishing Touches
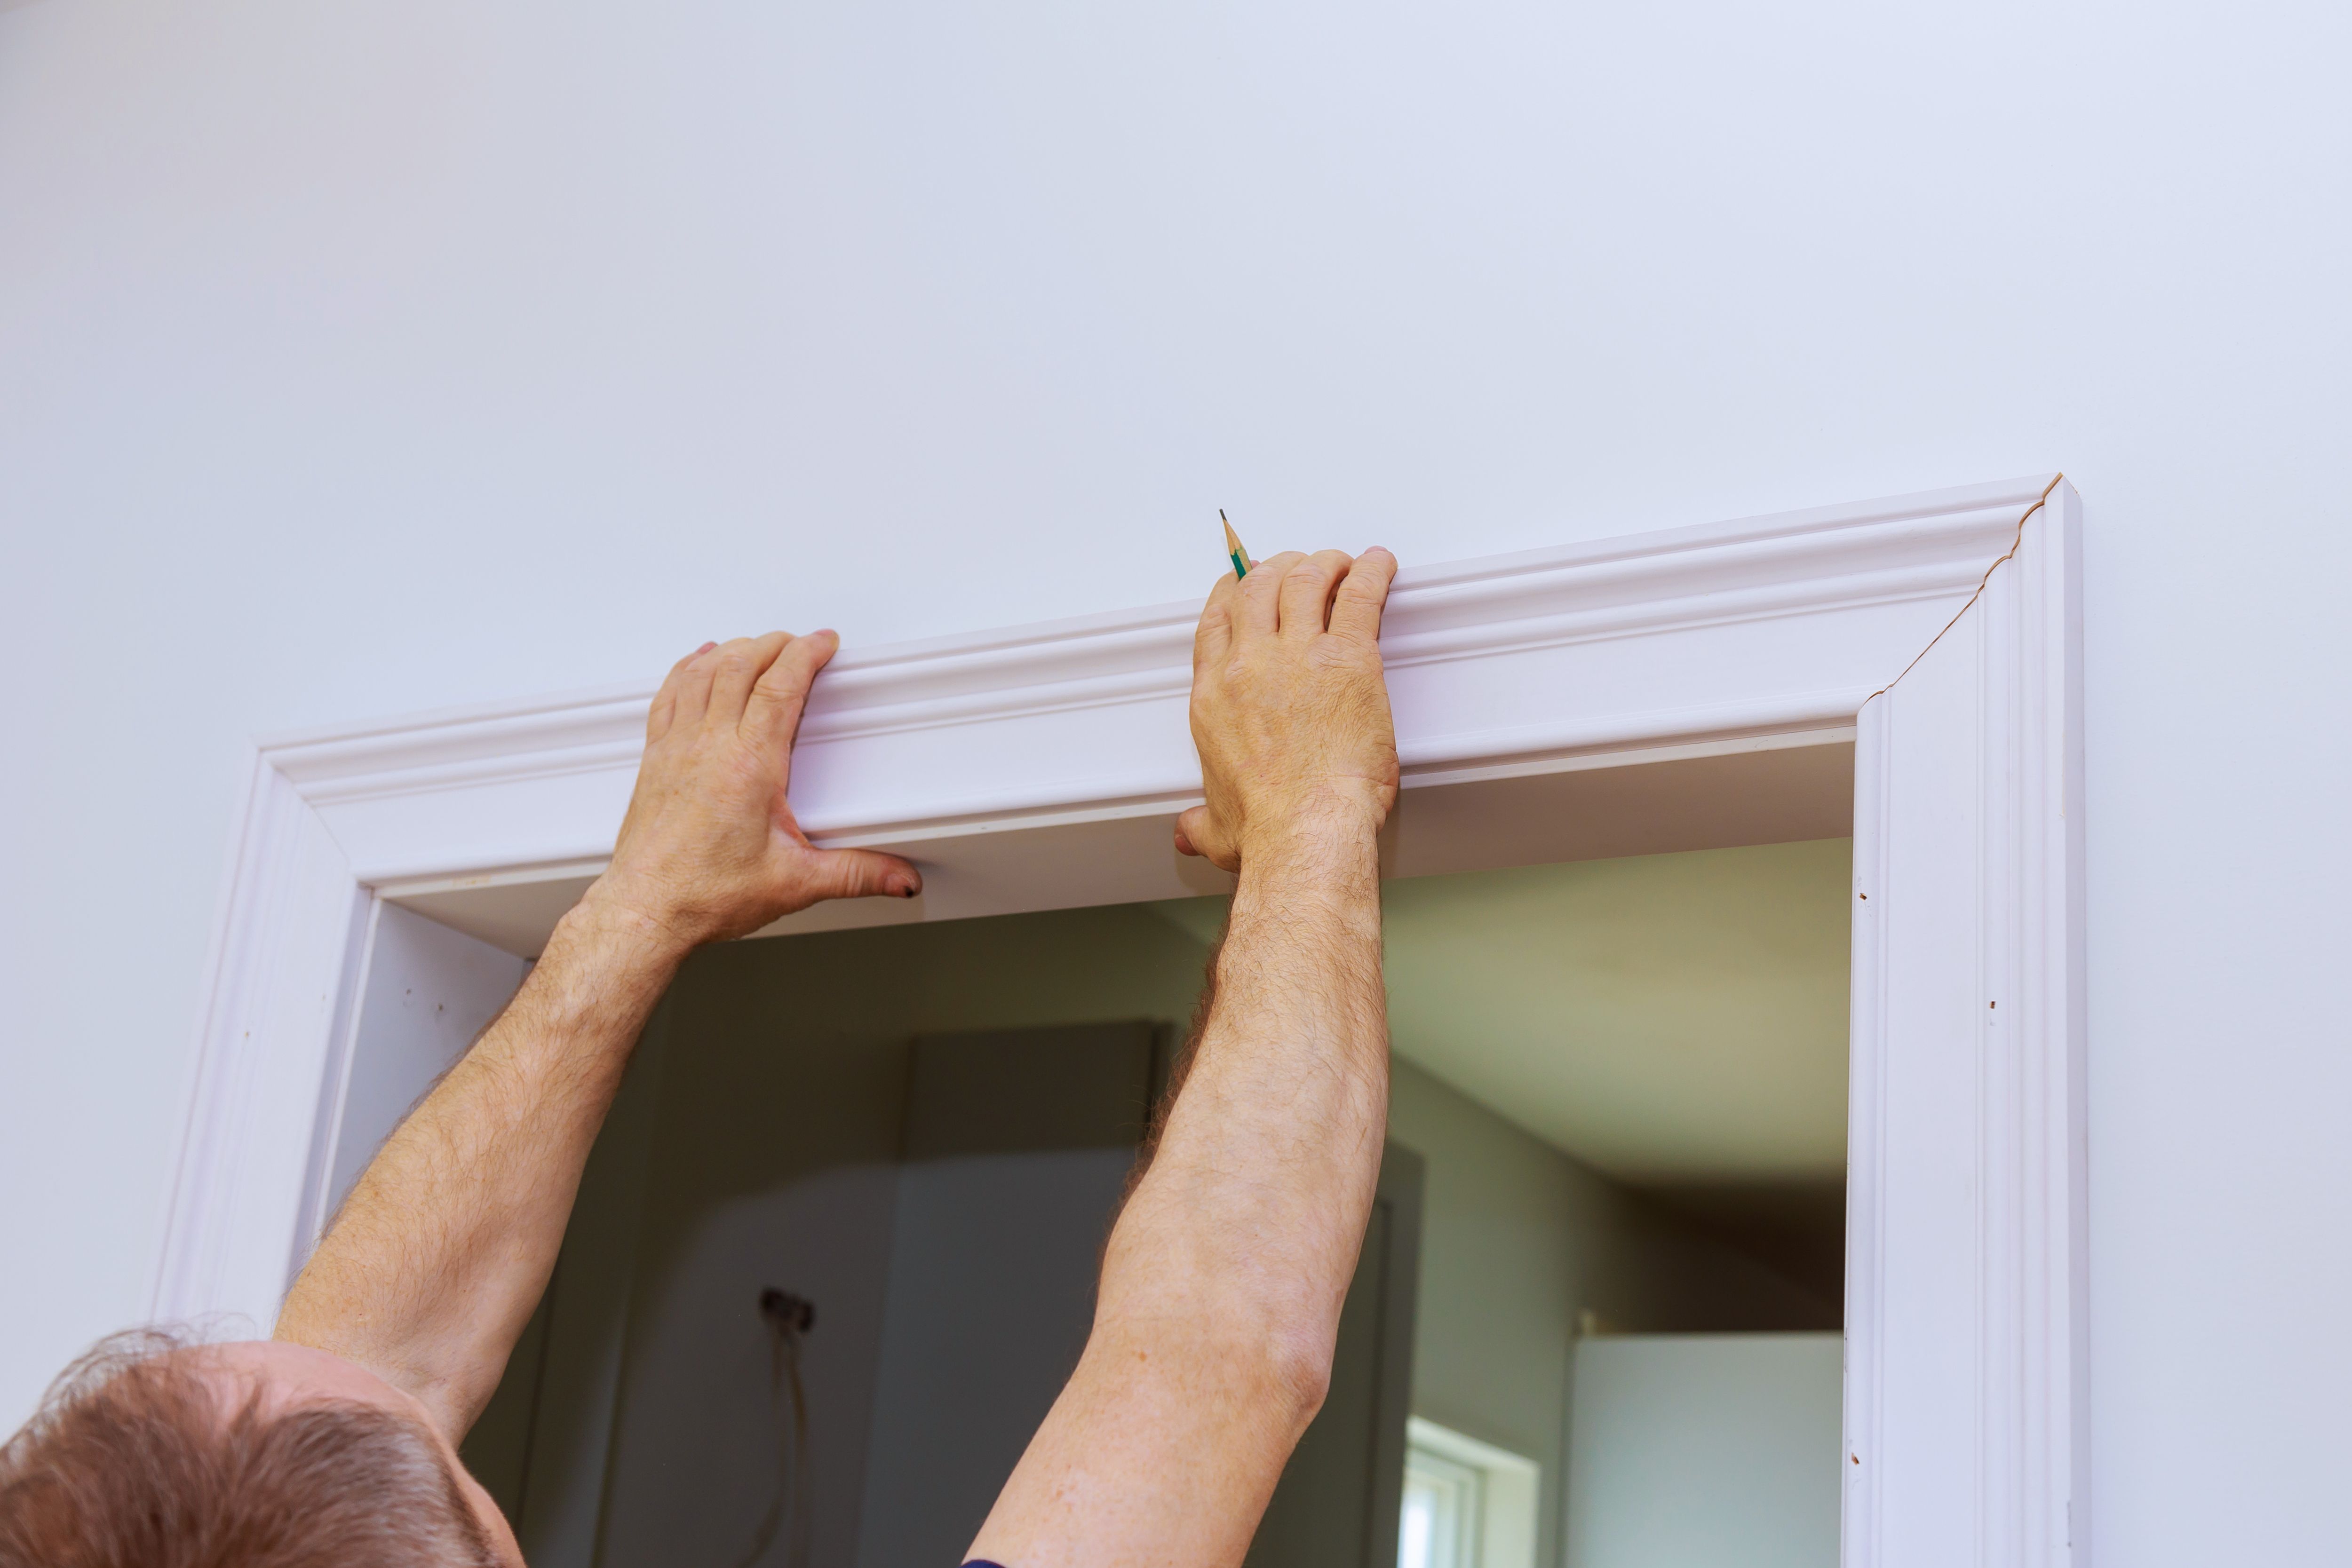
After installing the door, check its operation by opening and closing it several times. This will help you identify any sticking points or misalignments that need adjustment. Use your level again to confirm that everything is perfectly aligned.
Finally, install any additional hardware such as doorknobs or locks. Ensure that all elements are functioning correctly and securely attached. Add any trim or molding around the door to complete the look and cover any gaps.
With these steps, you can install a new door like a pro, transforming any space with your DIY skills and attention to detail!