
DIY Tips: Installing Your New Doors with Expert Precision


Understanding the Basics of Door Installation
Installing a new door can seem daunting, but with the right tools and a bit of patience, it is a task you can tackle with confidence. Whether you're replacing an existing door or upgrading to a new style, understanding the basics is crucial for achieving a professional finish.
Before you begin, ensure you have all necessary tools and materials on hand. This typically includes a tape measure, screwdriver, level, shims, hammer, and saw. Additionally, having a friend to help hold the door in place can make the process smoother and more precise.
Preparation: Measuring and Choosing the Right Door
Accurate measurements are the foundation of any successful door installation. Start by measuring the existing door frame to determine the size of the door you need. Measure the width, height, and depth of the frame, noting any irregularities or obstructions that might affect installation.
Once you have your measurements, it's time to select your new door. Consider factors such as material, style, and insulation. A well-chosen door can enhance your home's aesthetic while providing energy efficiency and security.
Removing the Old Door
Begin by removing the old door from its hinges. Use a screwdriver to unfasten the hinge pins, and carefully lift the door from the frame. If the door is painted or swollen, it may require gentle persuasion with a hammer and block of wood to loosen it.
After removing the door, inspect the frame for any damage or decay. Repair any issues before proceeding to ensure a solid foundation for your new door. It's essential to have a clean and stable frame to avoid complications during installation.
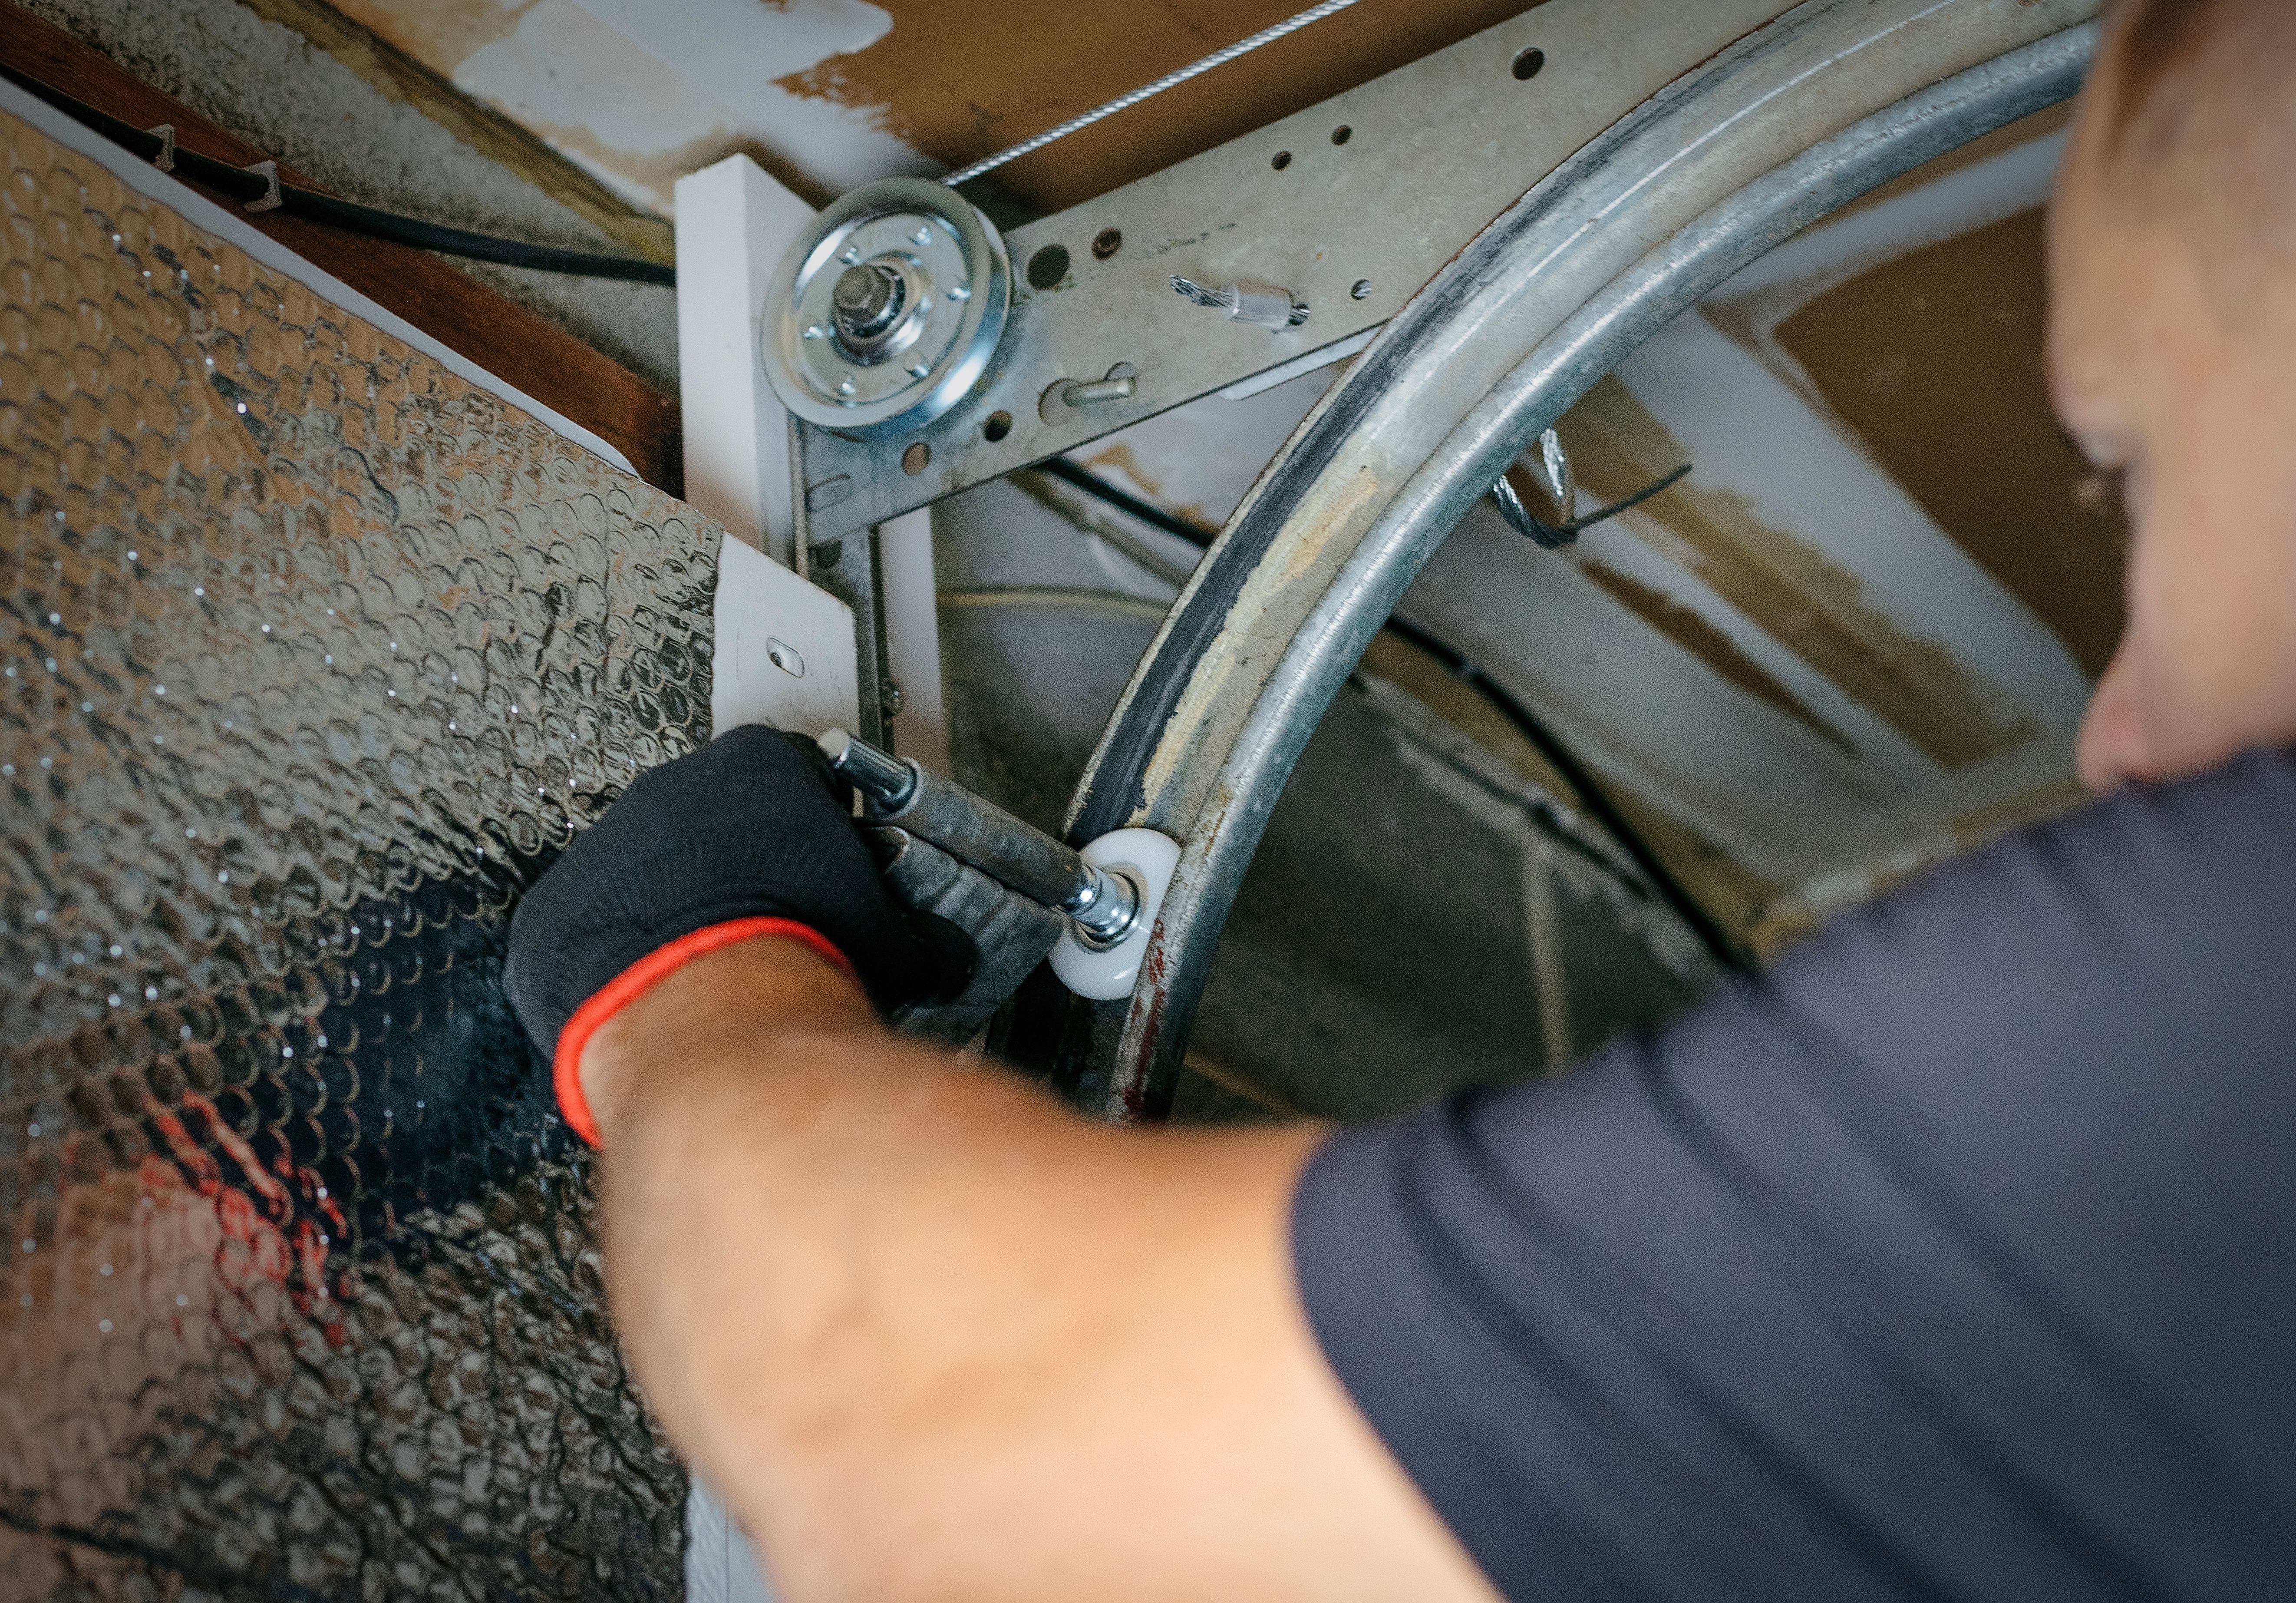
Installing the New Door
With the old door removed and the frame prepared, position your new door in the opening. Use shims to adjust and level the door as needed. Ensuring the door is level is critical for proper operation and longevity.
Once leveled, mark the hinge positions on both the door and frame. Pre-drill holes for your screws to avoid splitting the wood. Securely attach the hinges and test the door’s movement. Make adjustments as necessary for smooth operation.
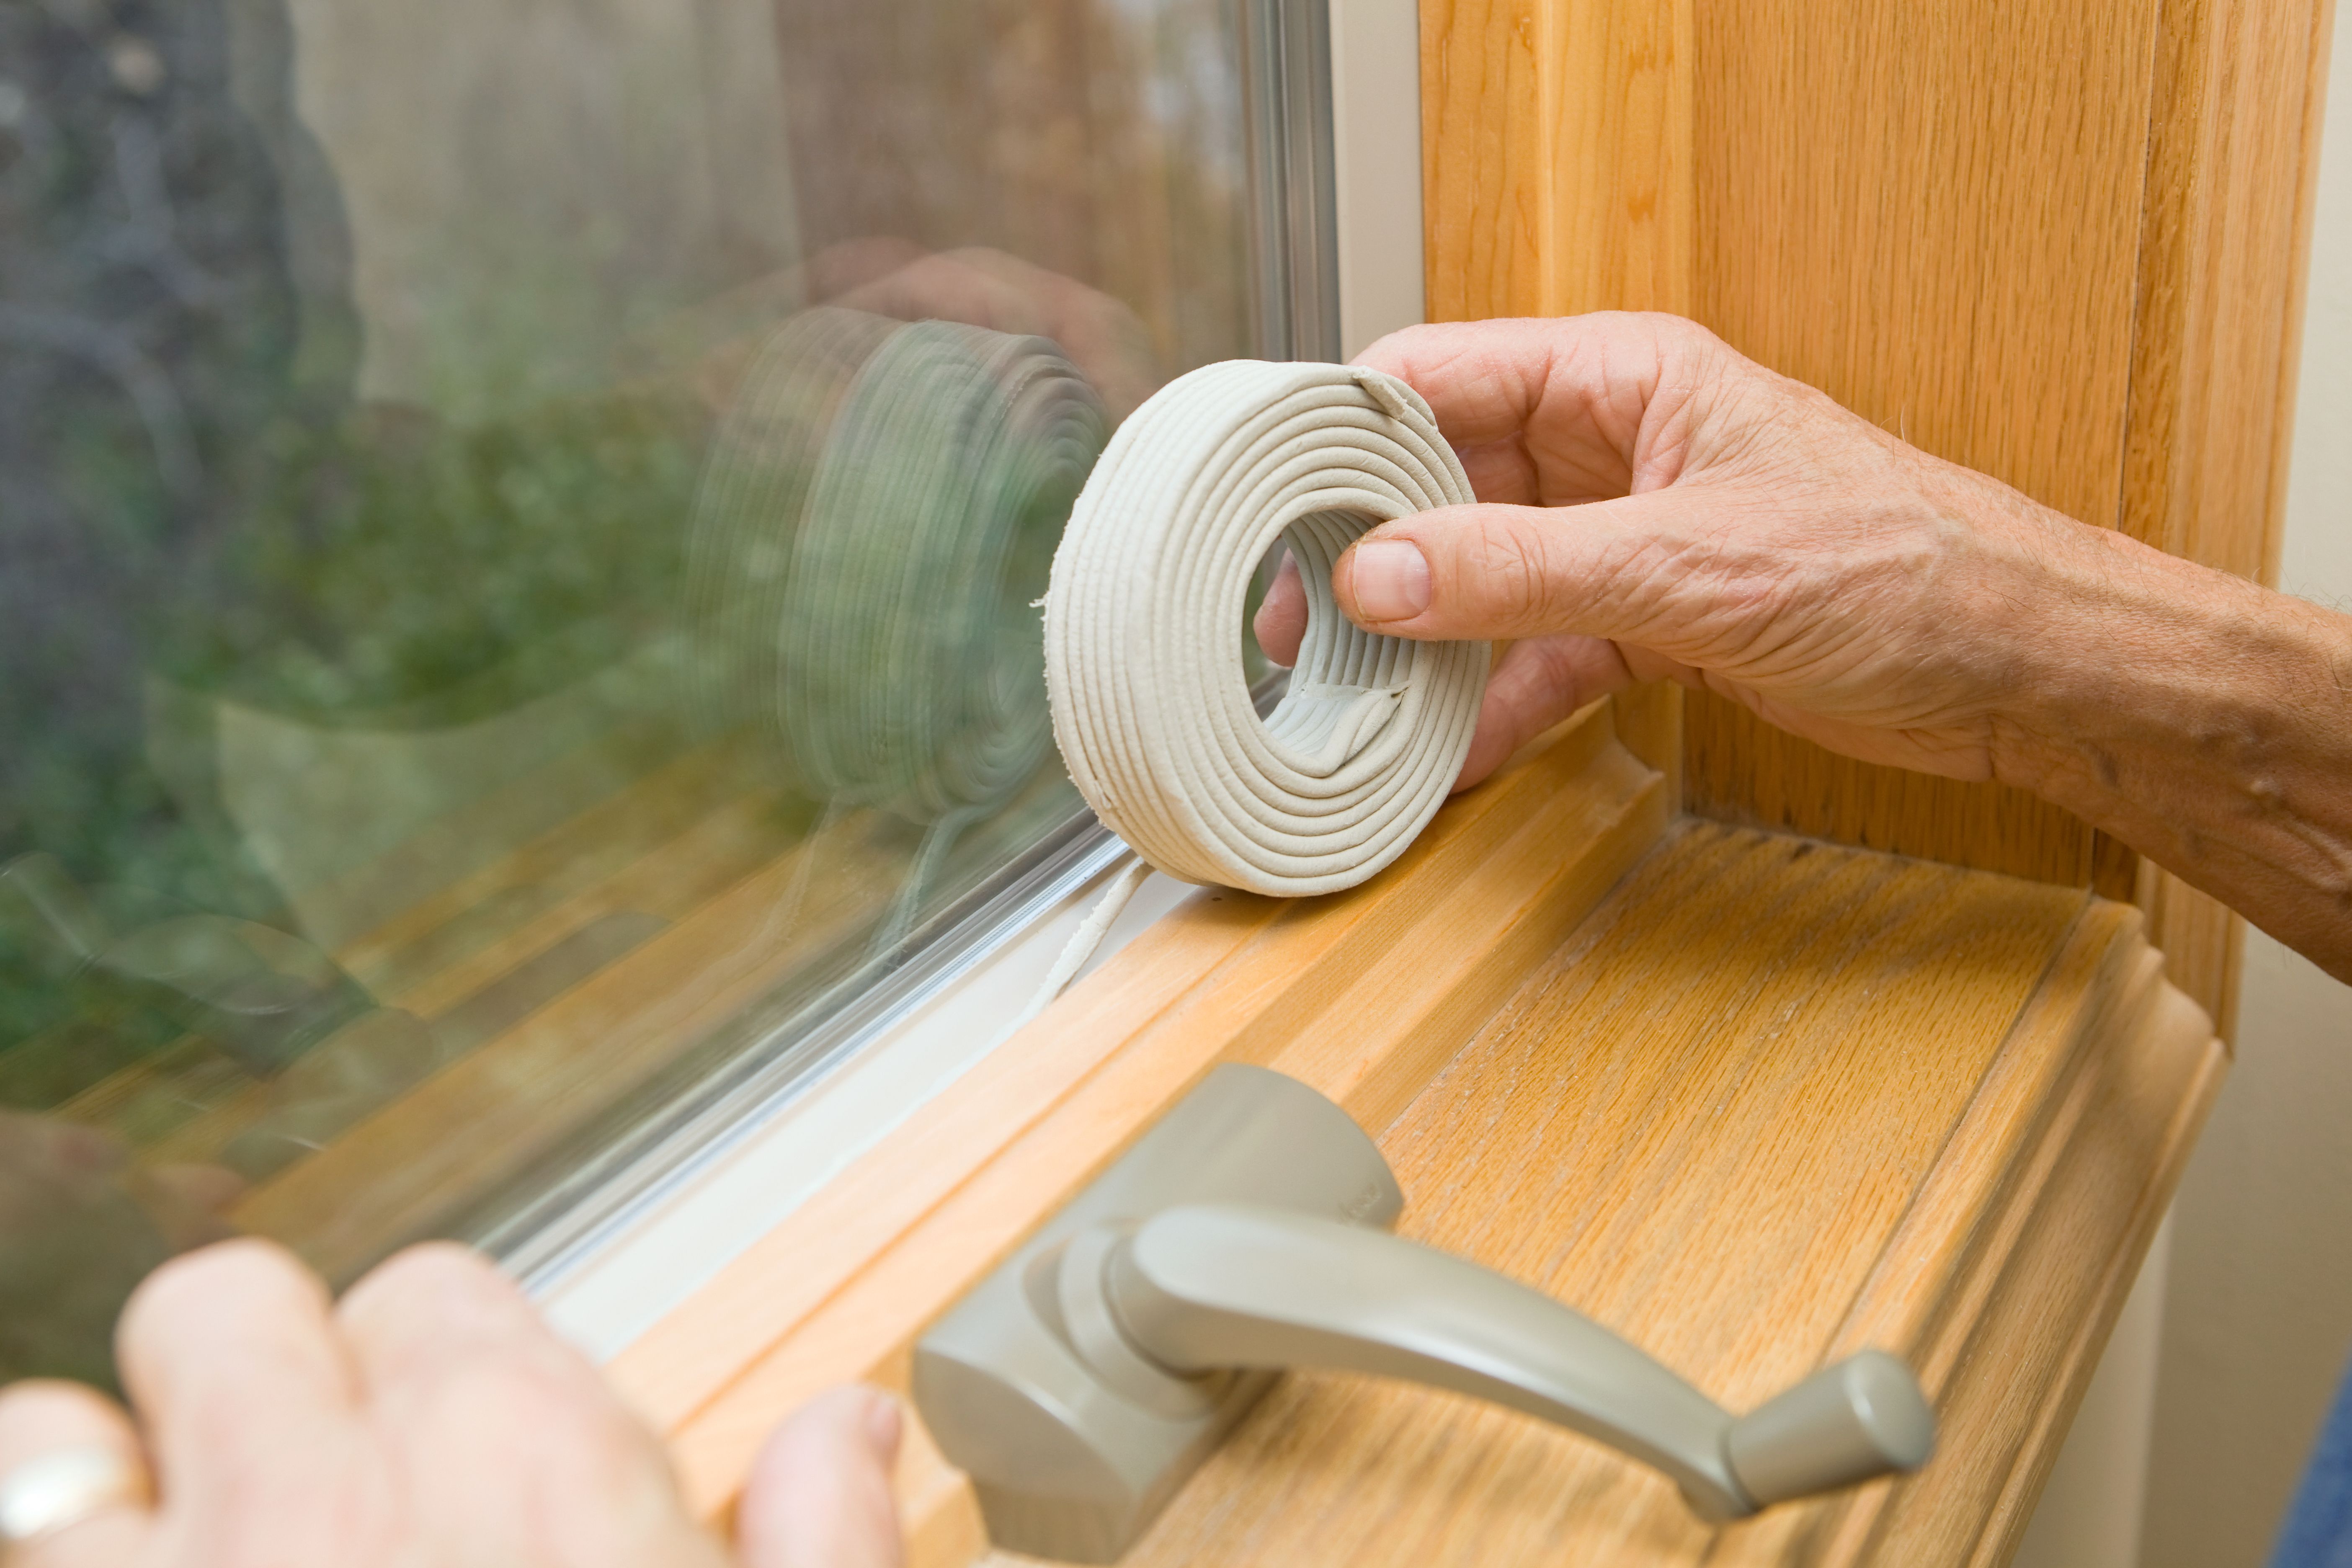
Finishing Touches: Sealing and Final Adjustments
After securing your door, apply weatherstripping around its perimeter to enhance insulation and reduce drafts. This step not only improves energy efficiency but also contributes to noise reduction.
Finally, check that your door opens and closes smoothly without dragging on the floor or frame. If adjustments are needed, use a plane or sandpaper to trim any areas of excess material. Apply paint or stain as desired to match your home's decor.
Common Challenges and Solutions
During installation, you may encounter common challenges such as misalignment or difficulty securing hinges. These issues are often resolved by rechecking measurements and making minor adjustments with shims or additional screws.
If you find gaps between the door and frame, additional weatherstripping or adjusting the strike plate may be required. Taking your time to address these issues will ensure a high-quality installation that stands the test of time.
Conclusion: Enjoy Your New Door
By following these steps with precision and care, you can achieve a professional-quality door installation that enhances both function and style in your home. Remember that patience and attention to detail are key.
Enjoy the satisfaction of completing your DIY project with confidence. Your new door not only adds aesthetic value but also improves comfort and security in your living space.