
DIY Window and Door Installation: What You Need to Know


Understanding the Basics of DIY Window and Door Installation
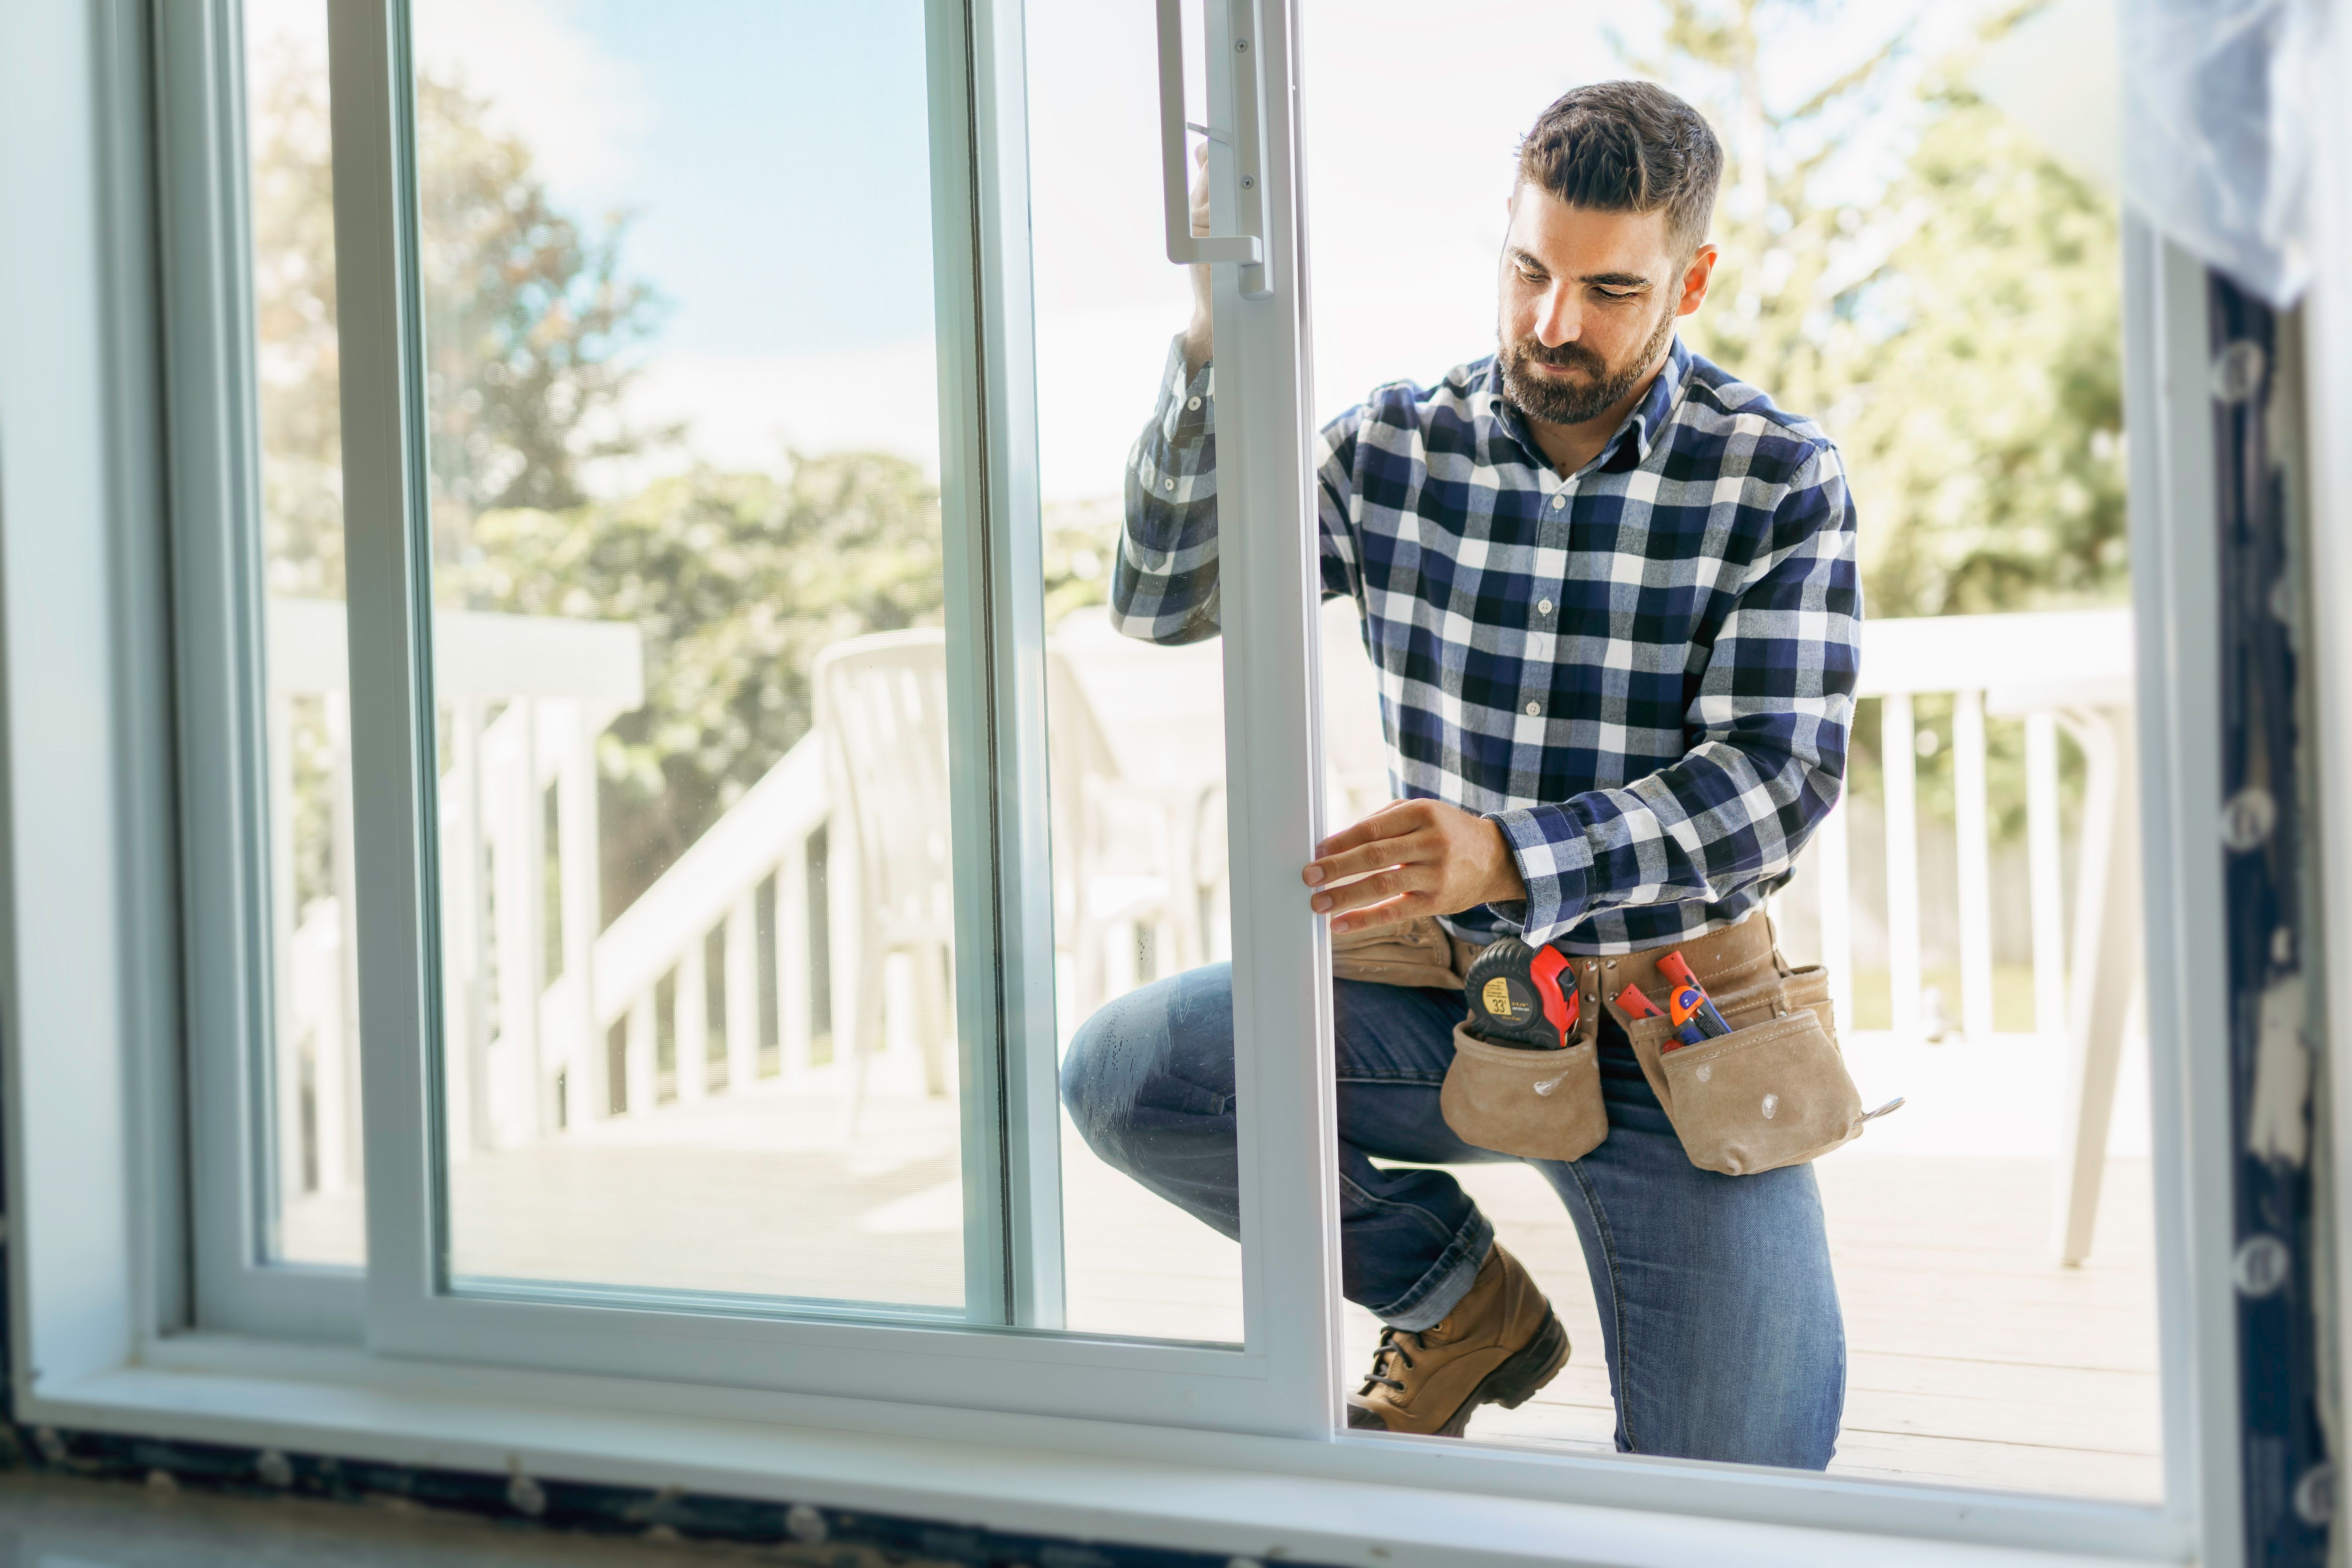
Installing windows and doors yourself can be a rewarding and cost-effective project. However, it requires careful planning, the right tools, and meticulous attention to detail. Before you begin, ensure you have a solid understanding of the process and the confidence to tackle the job. This guide will walk you through what you need to know about DIY window and door installation.
Gathering the Right Tools and Materials
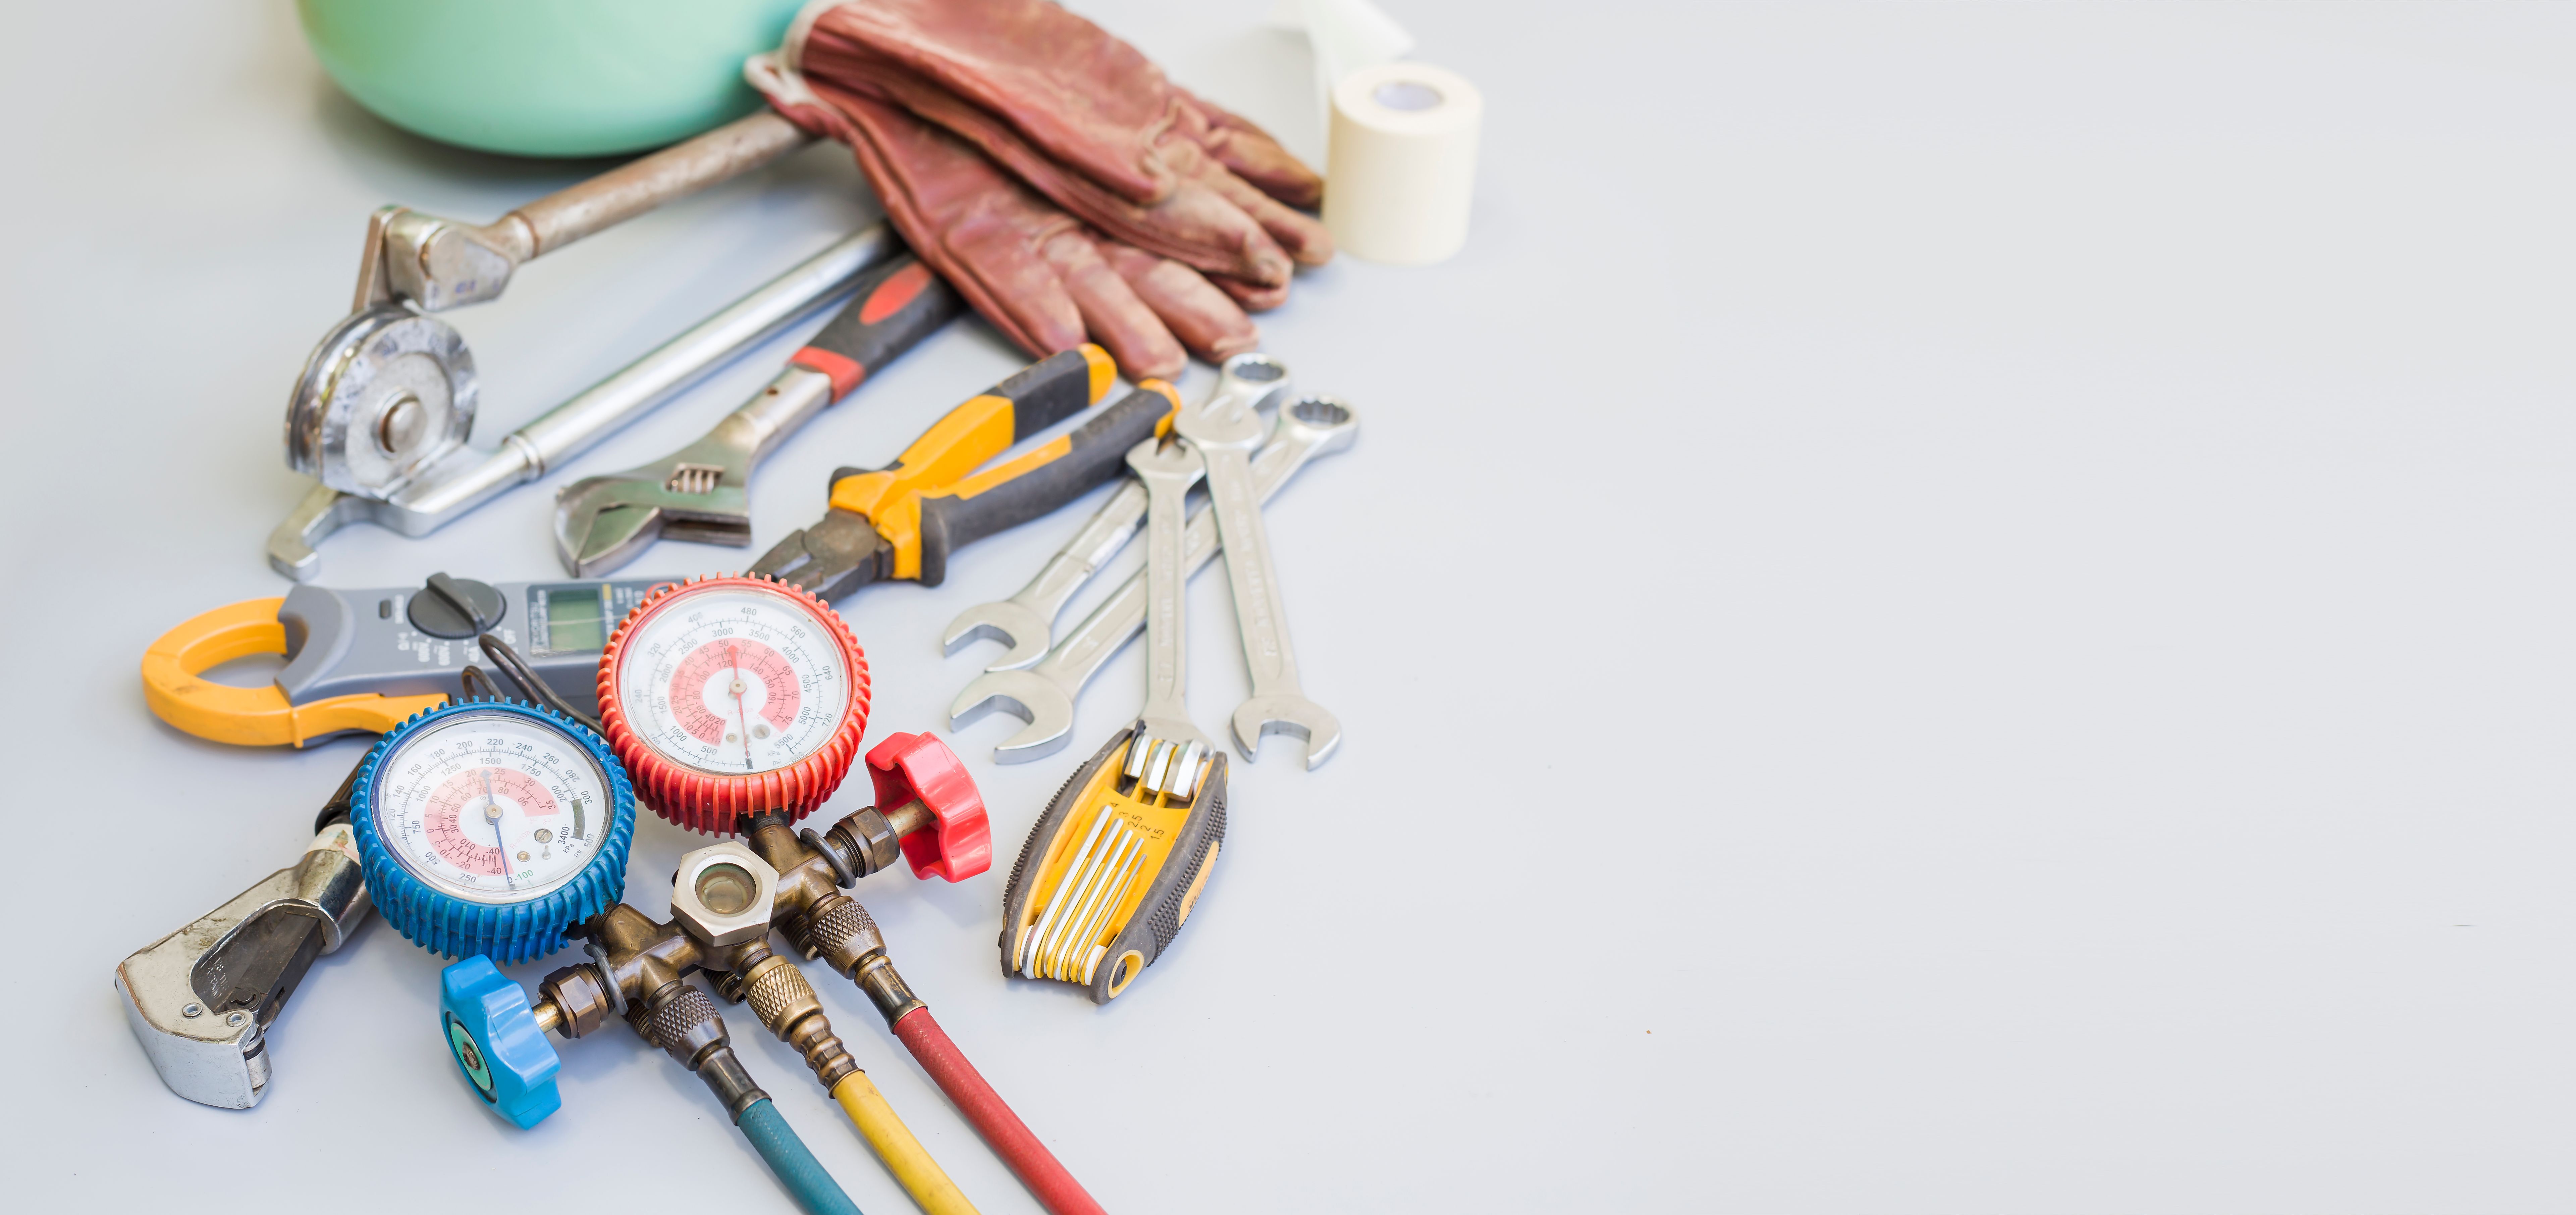
Before starting your project, it's crucial to have the right tools and materials on hand. Essential tools include a tape measure, level, screwdriver, drill, caulking gun, and safety gear such as gloves and goggles. Depending on your specific project, you might also need a pry bar or a hammer.
For materials, make sure to have caulk, shims, and insulation foam. It's also important to have the correct size and style of windows or doors ready for installation. Double-check measurements to ensure a perfect fit before proceeding with any work.
Preparing Your Space
Preparation is key to a successful installation. Start by removing old windows or doors carefully. Use a pry bar to loosen frames if necessary, but take care not to damage surrounding walls. Clean the area thoroughly to remove any debris or old sealant that could interfere with the new installation.
Once the space is prepared, inspect the opening for any signs of damage. Repair any issues before proceeding to ensure a secure fit for your new windows or doors.
Installation Process
The installation process involves several crucial steps. First, position the window or door in the opening and use shims to hold it in place. Check that everything is level and square before securing it with screws. Be sure to follow manufacturer instructions carefully during this phase.
Once secured, apply insulation foam around the edges to improve energy efficiency and prevent drafts. Finish by sealing gaps with caulk, ensuring that all seams are watertight.
Final Checks and Adjustments
After installation, conduct thorough checks to ensure everything is functioning correctly. Open and close the window or door several times to confirm smooth operation. If you notice any sticking or difficulty in movement, adjust as necessary.
Inspect seals and caulking for gaps or cracks that may need additional attention. Properly sealed windows and doors will help maintain your home's energy efficiency.
Considerations for Different Types of Windows and Doors
Different types of windows and doors may require unique considerations. For instance, installing sliding doors might involve additional steps compared to standard hinged doors. Similarly, bay windows can be more complex than standard single-pane windows.
Research specific installation guides for your particular window or door type for tailored instructions and tips. It's essential to adapt your approach based on the product specifications.
When to Call a Professional
While DIY installation can be a fulfilling project, there are times when it's best to call a professional. If you encounter structural issues or lack confidence in completing the project safely, professional assistance is a wise choice.
Hiring a professional ensures that your windows and doors are installed correctly and securely, providing peace of mind and potentially saving on future repair costs.
Conclusion
Tackling a DIY window or door installation can enhance your home’s value and efficiency. By understanding the basics, gathering the right tools, and preparing your space thoroughly, you’ll set yourself up for success. Remember, attention to detail is crucial, and don’t hesitate to seek professional help if needed.
With careful planning and execution, your DIY installation will be a project you can take pride in for years to come.