
DIY Window Replacement: A Step-by-Step Tutorial


Introduction to DIY Window Replacement
Replacing windows might seem daunting, but with the right tools and a bit of patience, it can be a manageable DIY project. Not only does it enhance the aesthetic appeal of your home, but it also improves energy efficiency. This step-by-step guide will walk you through the process of replacing your windows.
Gathering Your Tools and Materials
Before you begin, ensure you have all the necessary tools and materials. You'll need a tape measure, utility knife, screwdrivers, a pry bar, and a caulking gun. Additionally, ensure you have new windows that fit your openings, along with shims, insulation, and weatherproofing tape.
- Tape measure
- Utility knife
- Screwdrivers
- Pry bar
- Caulking gun
- New windows
- Shims
- Insulation
- Weatherproofing tape
Removing the Old Window
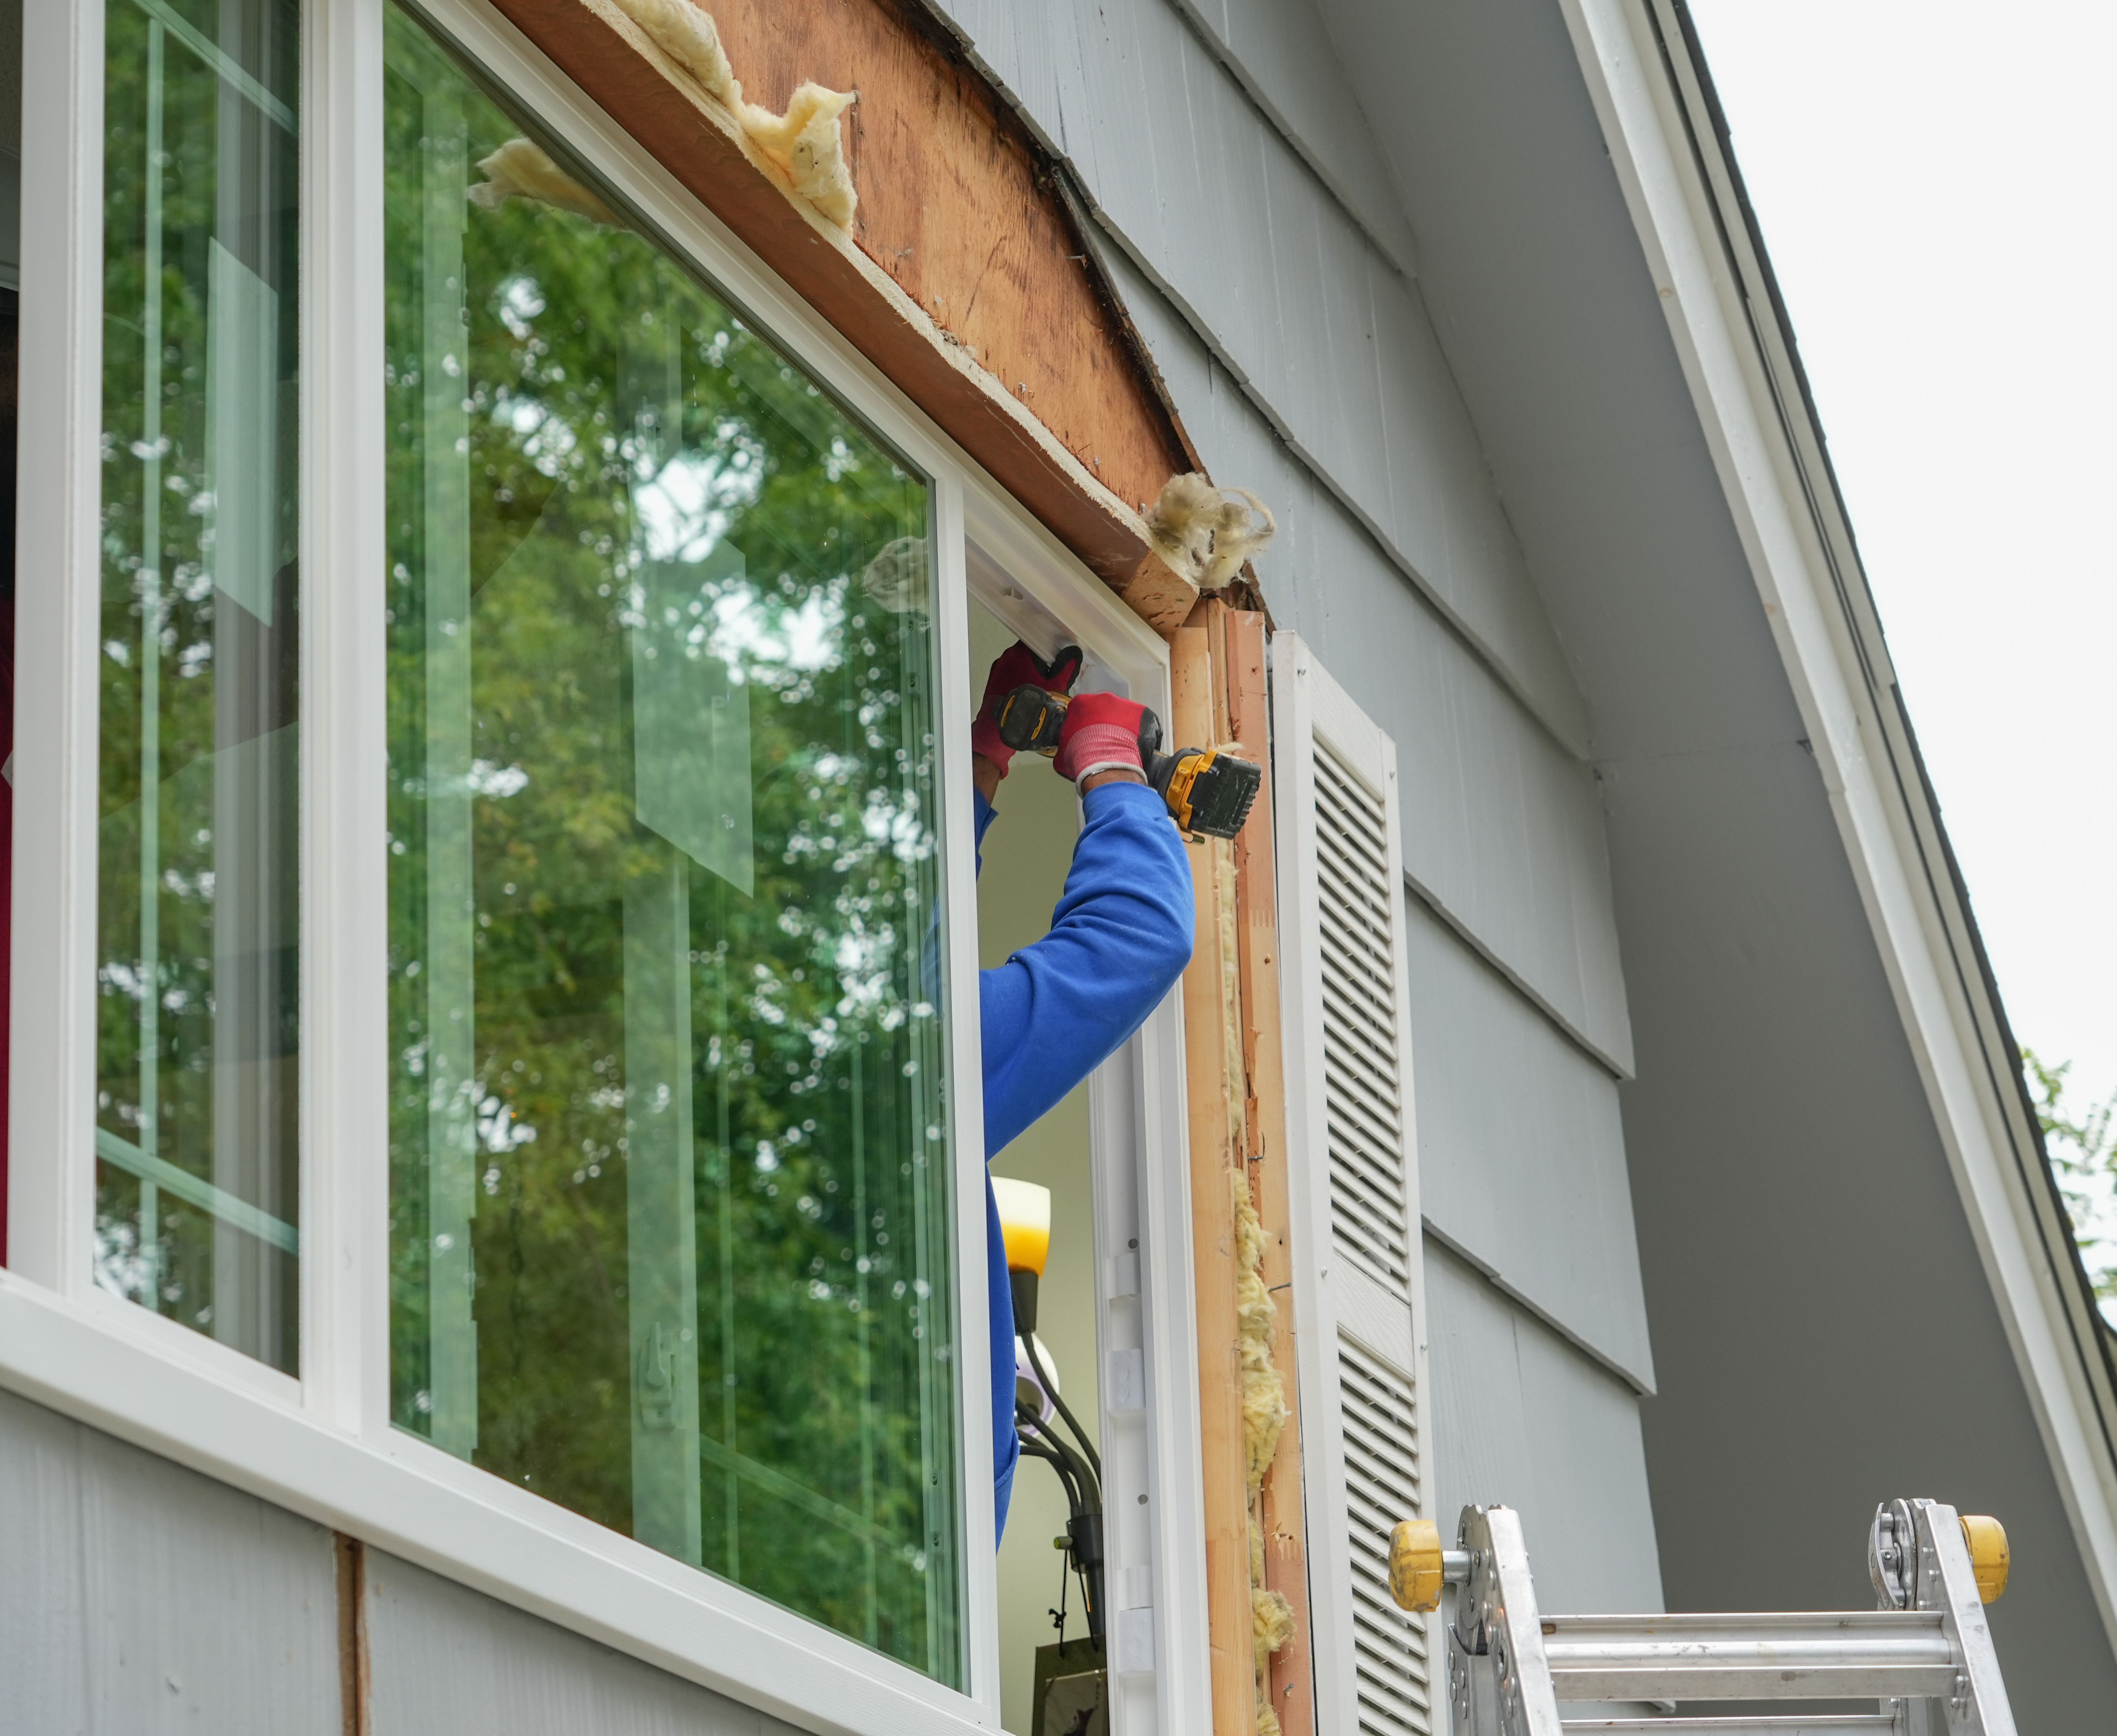
The first step in replacing your window is removing the old one. Start by removing any trim or casing around the window using the pry bar. Be careful not to damage the surrounding walls. Next, unscrew or pry out the old window from the frame. It’s important to work cautiously to avoid breaking any glass.
Preparing the Opening
After removing the old window, inspect the window opening for any damage or rot. Repair any issues before proceeding. Ensure the opening is clean and clear of debris. Use insulation to fill any gaps around the frame for better energy efficiency.
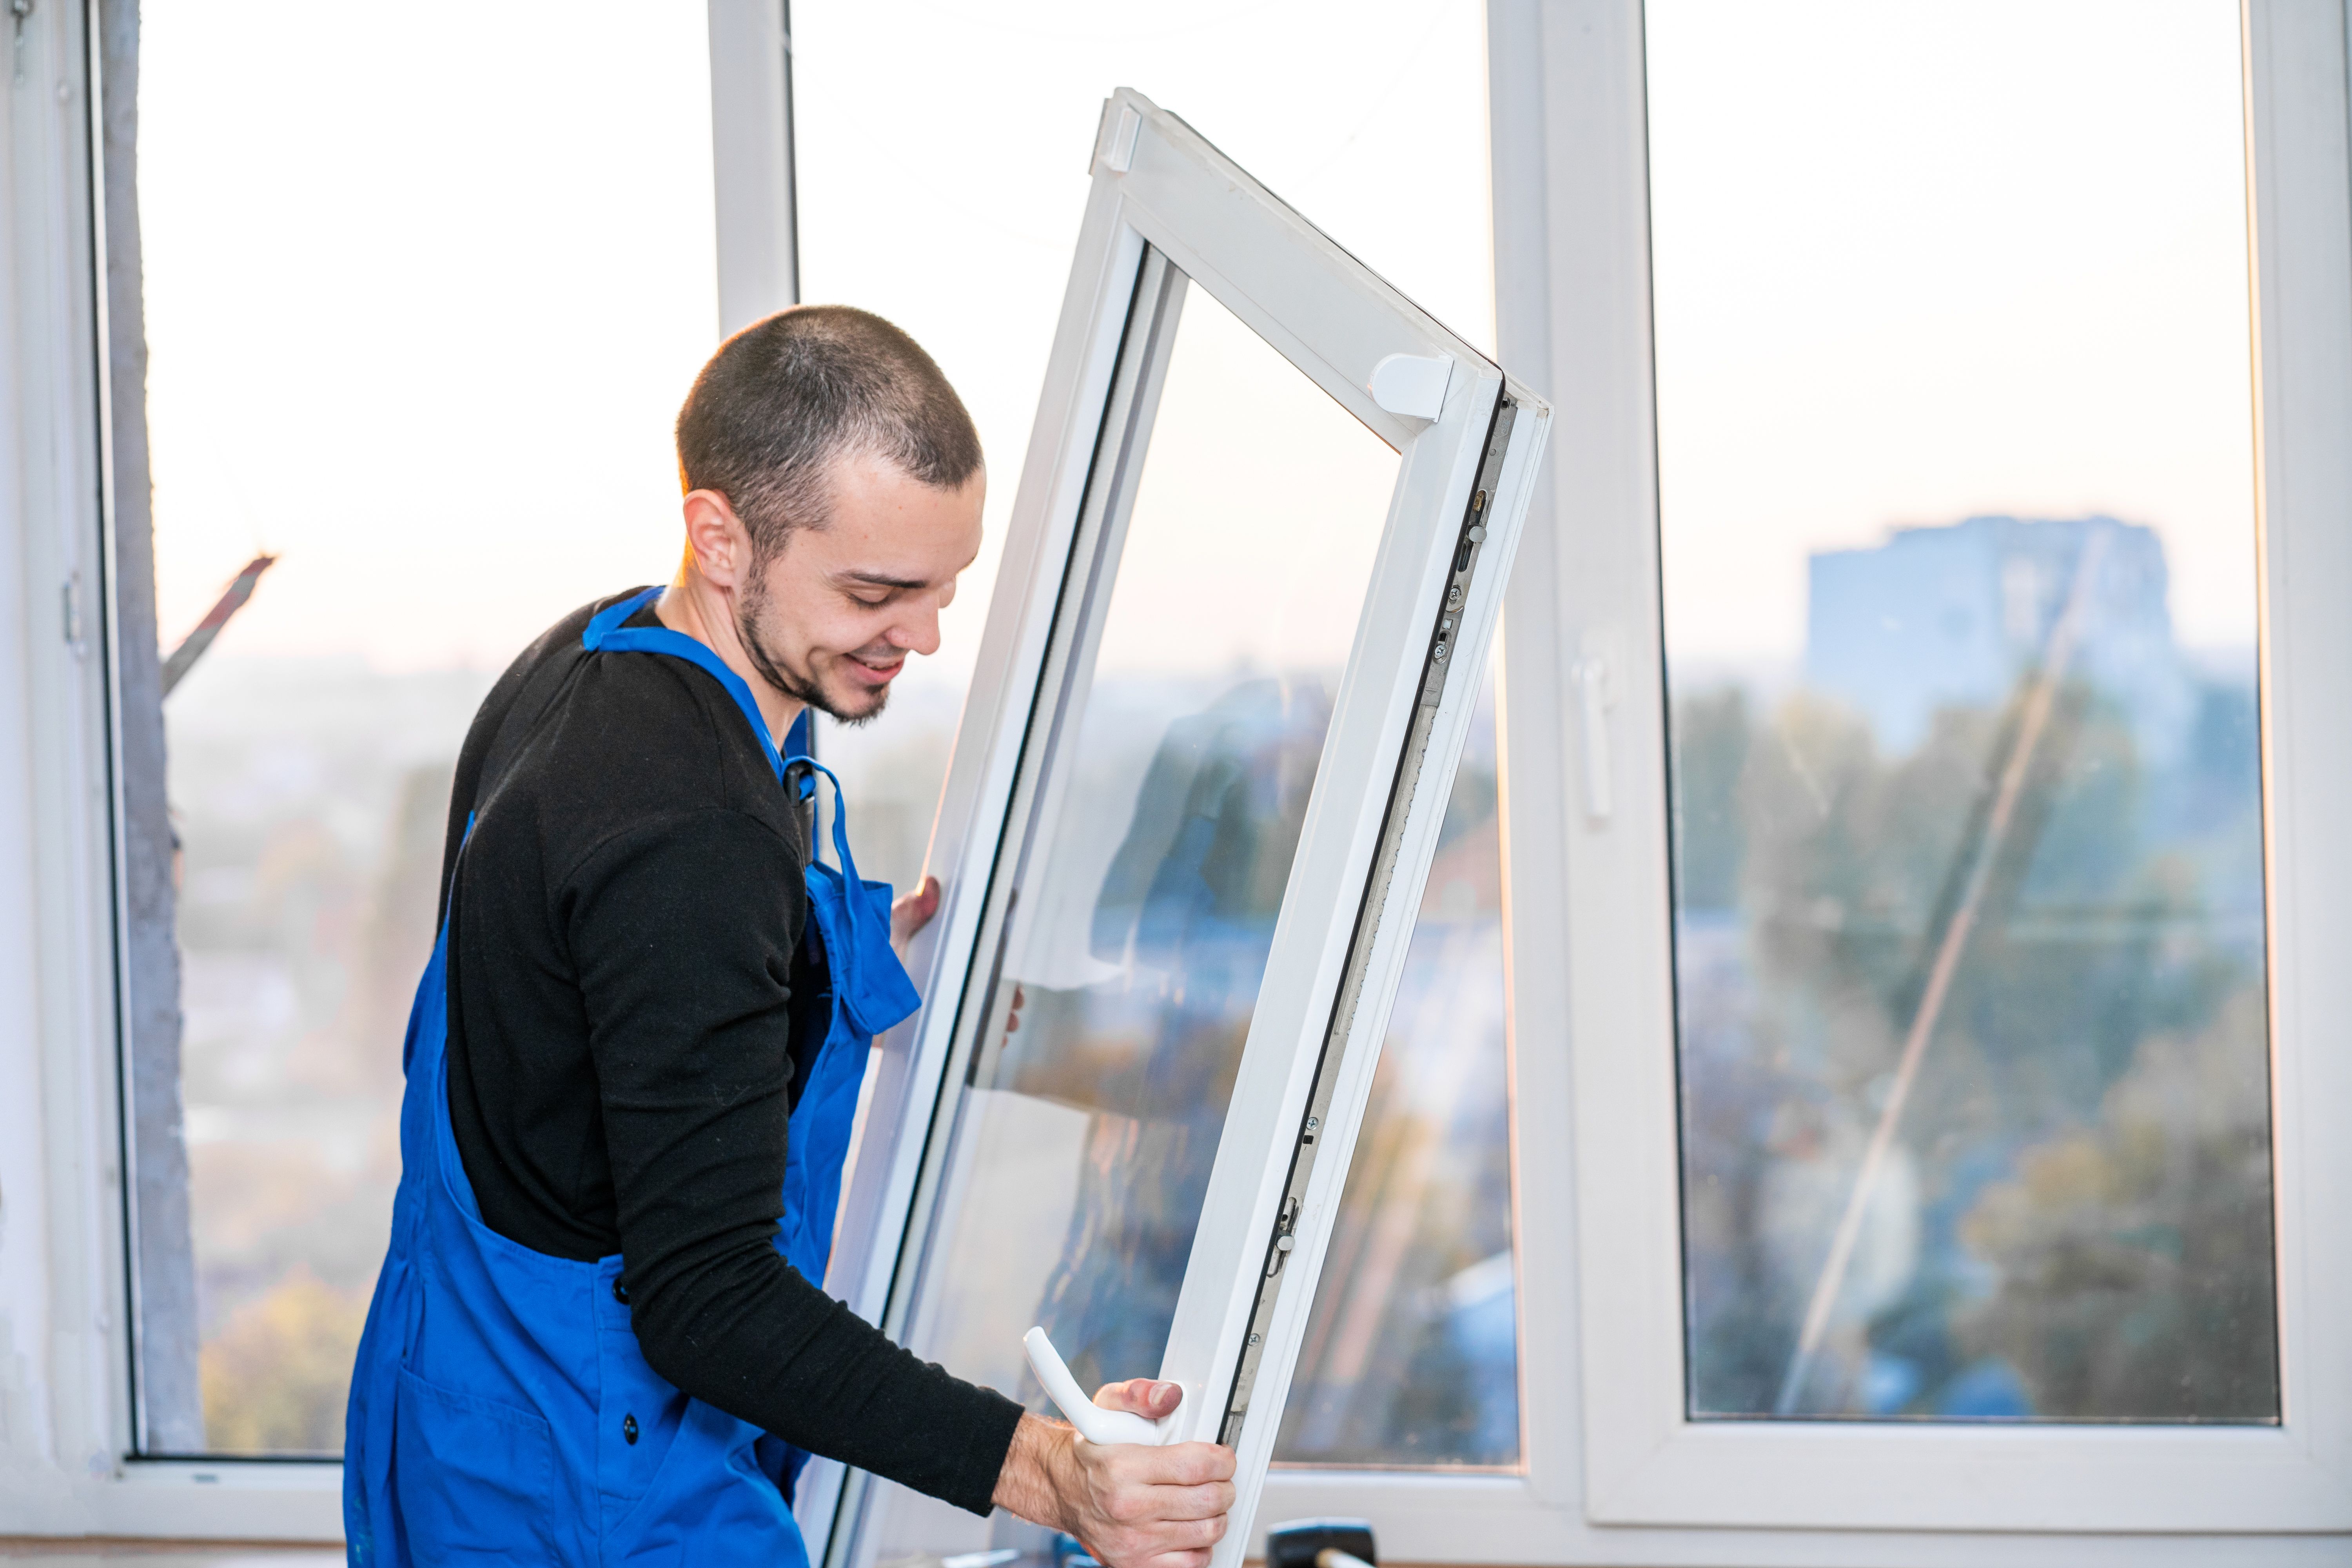
Installing the New Window
With a clean and prepared opening, position your new window into place. Use shims to ensure it's level and plumb. This step is crucial for the proper operation of your window. Secure the window by screwing it into place as per the manufacturer's instructions.
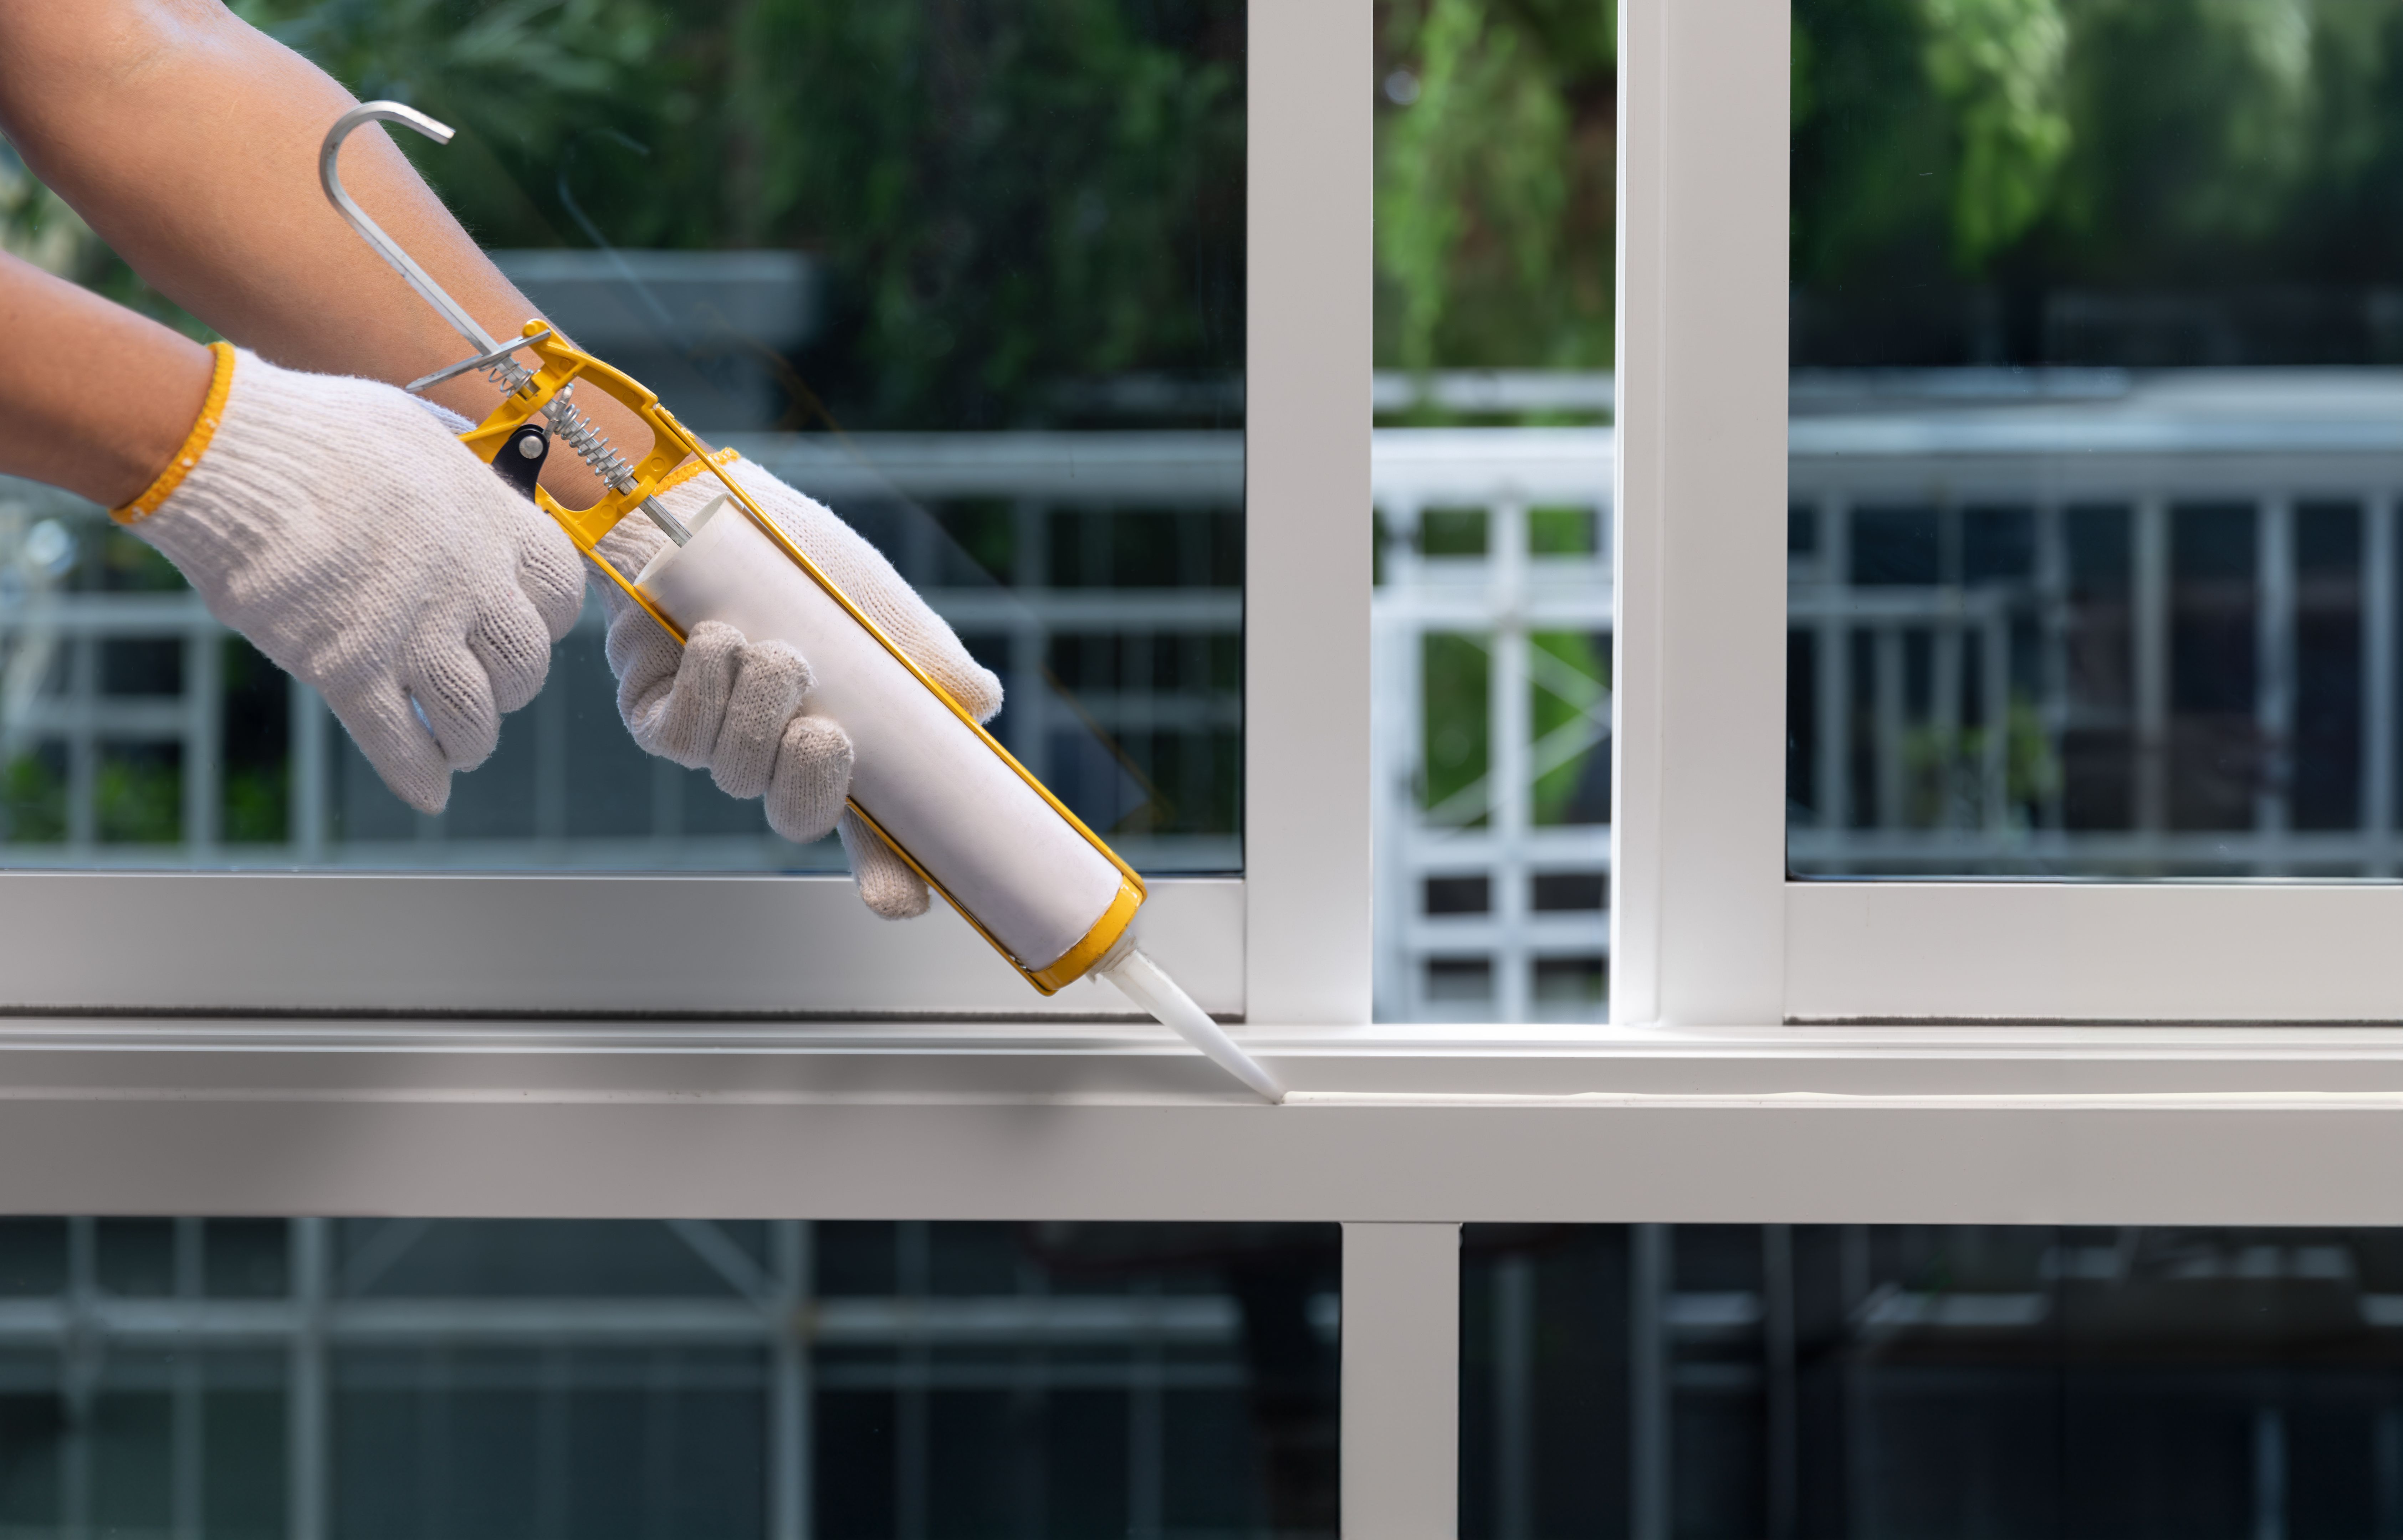
Sealing and Insulating
Sealing is an essential step to ensure your window is weatherproof. Apply a bead of caulk around the exterior edges of the window to prevent water infiltration. Additionally, use insulation around the frame to improve energy efficiency and eliminate drafts.
Reinstalling Trim and Finishing Touches
Once your window is securely installed and sealed, reinstall any interior or exterior trim that was removed earlier. Ensure all trim fits snugly against the window frame for a polished look. Touch up any paint or finish as needed to match your existing decor.
Final Inspection and Maintenance Tips
Perform a final inspection to ensure the window opens and closes smoothly and that all seals are intact. It's also advisable to check for any drafts around the edges. Regular maintenance will prolong the life of your windows, so keep them clean and lubricate any moving parts as needed.
By following these steps, you can successfully replace your windows and enjoy a more comfortable and energy-efficient home. Remember, if you encounter any issues beyond your capabilities, don’t hesitate to seek professional help.